If you’re a home project DIY’er and you love to paint, you’re gonna love this post!
One of the best “Damn! Why didn’t I think of this?!” recent inventions is the peel & stick paint swatch sample from Samplize.
The first time I used one was for a client project in late 2019 and I was hooked. Gone are the days of using teeny tiny swatch cards, painting swatches all over the walls, or using Foam Pro’s color test sample board (which are fine but they curl up after drying) to figure out which wall color to go with.
Samplize’s samples are generously sized at 9″x14.75″ and they use the manufacturer’s actual paint to make the samples. The samples used to be 12″x12″ but were recently modified so they can be shipped faster and cheaper.
They’re nice and thin making it easy to store many of them together, and they’re super simple to use. Actually, I don’t even use the peel & stick function – I use blue painter’s tape on the back so I can reuse them over and over again.
The only downside to Samplize at the moment is they currently only offer samples for Benjamin Moore, Sherwin Williams, PPG, and Farrow & Ball. So what to do if you’re using a different brand or custom-mixed color? Make your own peel & stick sample, of course!
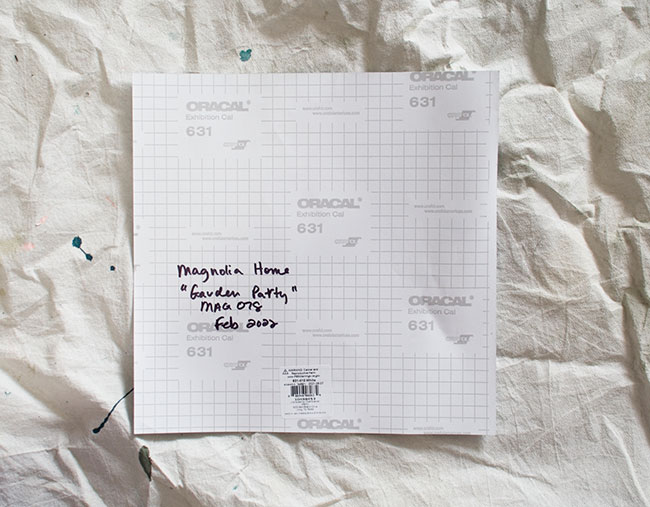
I have one of the early versions of Samplize swatches showing they were using Oracal 631 vinyl sheets. You can buy these at Michaels for $1.99 each and decided I’d just make my own when I wanted to test a paint color Samplize doesn’t offer.
Now, some of the other paint companies offer peel & stick samples, but they’re much smaller samples. I personally prefer the bigger swatches as I’m sure most people would as well.
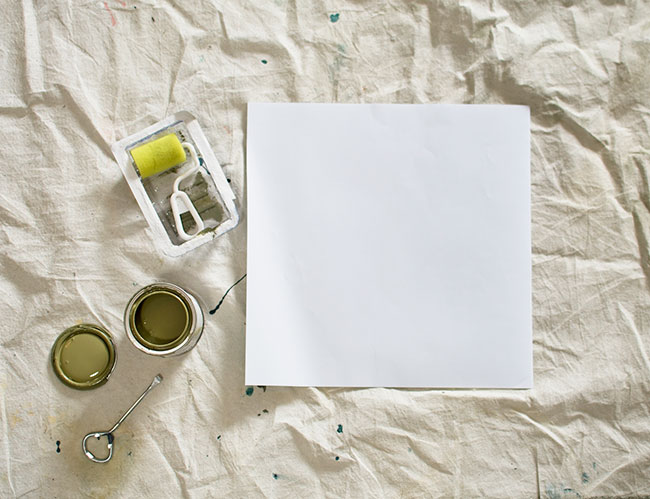
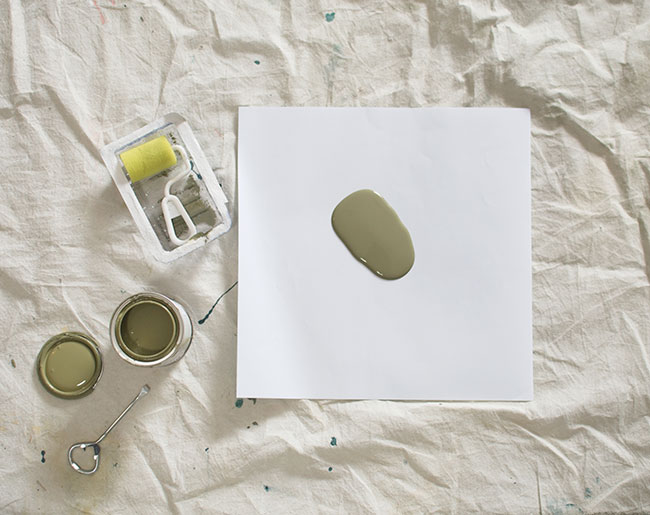
So in 5 easy steps, here’s all there is to making your own peel & stick paint swatches. Have fun!


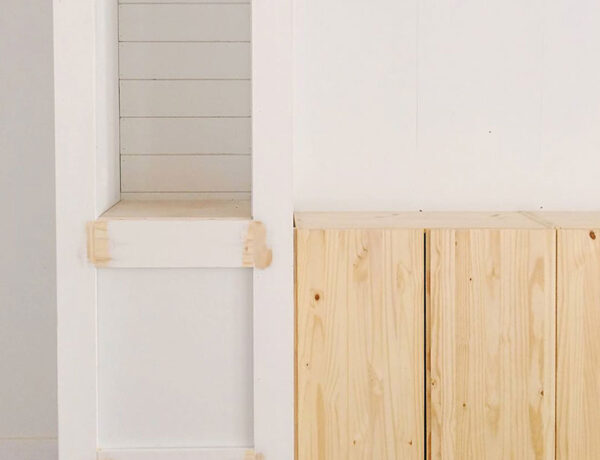
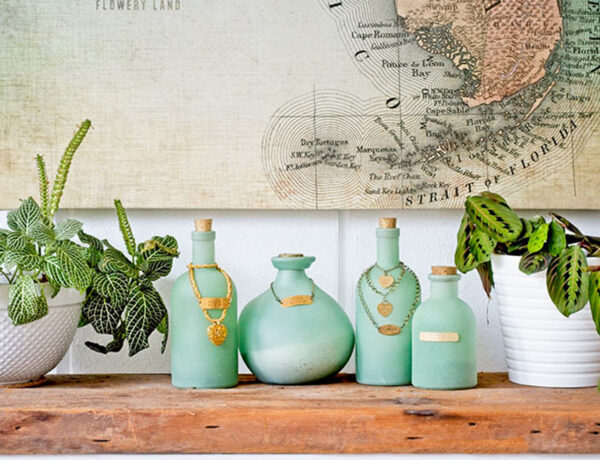
and far right. The others are my DIY versions.

If you enjoyed reading this article, make sure to sign up for the weekly newsletter below so you never miss a post.
Thank you so much for following my blog and allowing me to inspire you to create your own lived-in, loved-in spaces!