This was originally a post in 2019, but it’s one of my favorite DIY projects so I wanted to post it again!
We all need something fun to look forward to during the long fall holiday season (especially children), and this is a fun, easy, and inexpensive project for the family to participate in together.
What’s really awesome about this project is you can apply it to making your own custom doormat for any season of the year!
STEP 1: PIN THIS PROJECT FOR LATER!
STEP 2: GATHER YOUR SUPPLIES
Let me preface this part with the fact that I ALWAYS have a roll of painter’s tape in our garage, so I didn’t need to buy that, the ruler, or the Sharpie for this project. You don’t need to specifically use painter’s tape for this project – masking tape will work just fine.
I technically didn’t need to buy the craft knife either, but mine was really old, so I figured, why not? And I’m really glad I did – this is an awesome little tool and I used my 40% Hobby Lobby coupon so it was dirt cheap.
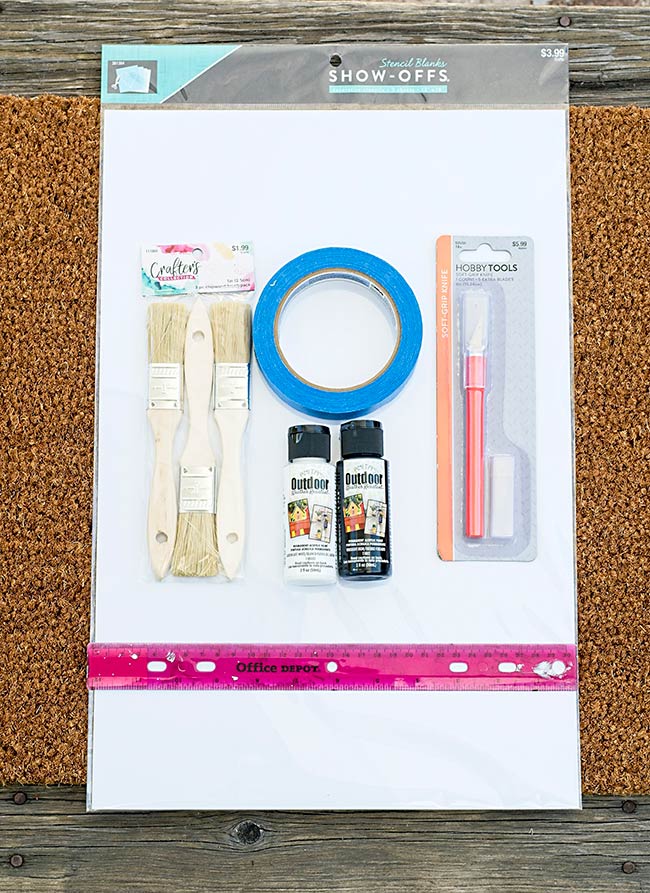
Here’s what you’ll need for this project. Don’t feel the need to buy these specific items – this list is just to be used as a guide:
• 18″x30″ Coir doormat – $10.98 (Target also has the same size for $10)
• 12″x18″ Stencil blanks – $2.29
• 1″ paintbrushes – $2.49
• Soft grip craft knife – $5.99
• (2) tubes of black outdoor craft paint – $1.79 each
• (1) tube of white outdoor craft paint – $1.79
• Sharpie marker (any color will do)
• Ruler at least 1″ wide
• Painters’ or masking tape
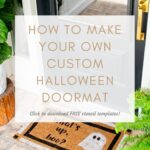
• Printed stencil templates – included in my Halloween Doormat Project PDF link below
>> DOWNLOAD THE PROJECT PDF HERE <<
These are a few suggested designs I quickly sketched up using Photoshop. You could easily expand upon these ideas to create your own masterpiece!
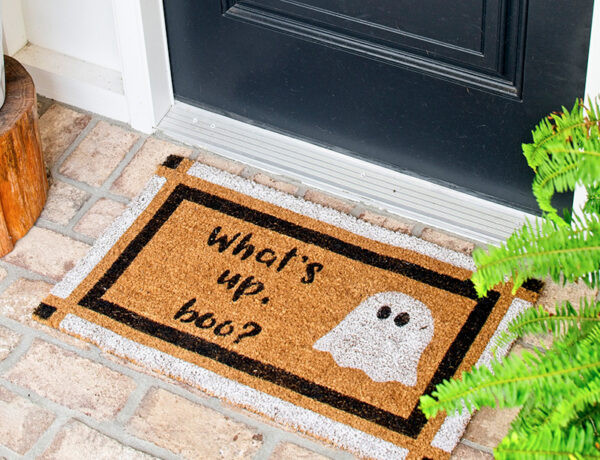
For this tutorial, we’re making the top-right version.


STEP 3: CREATE THE BORDERS
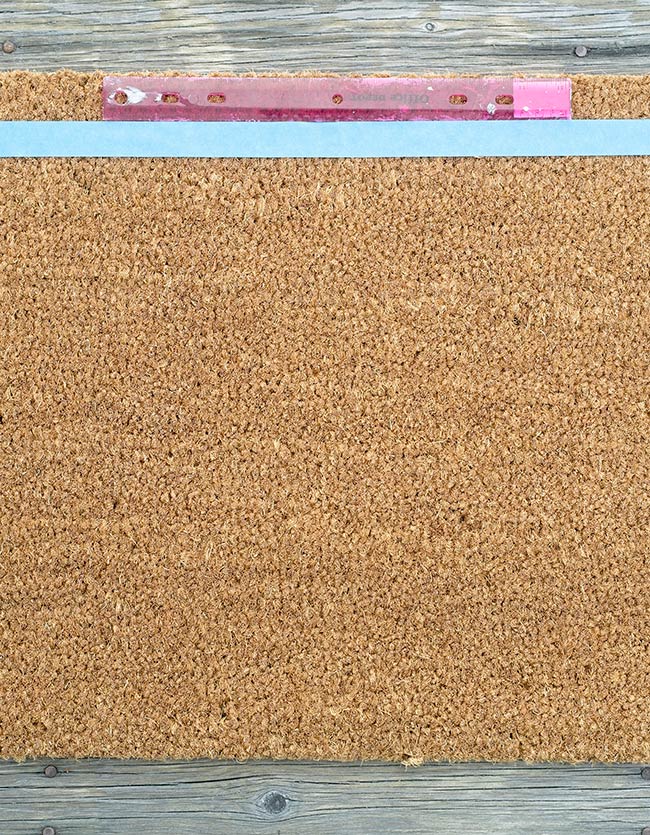
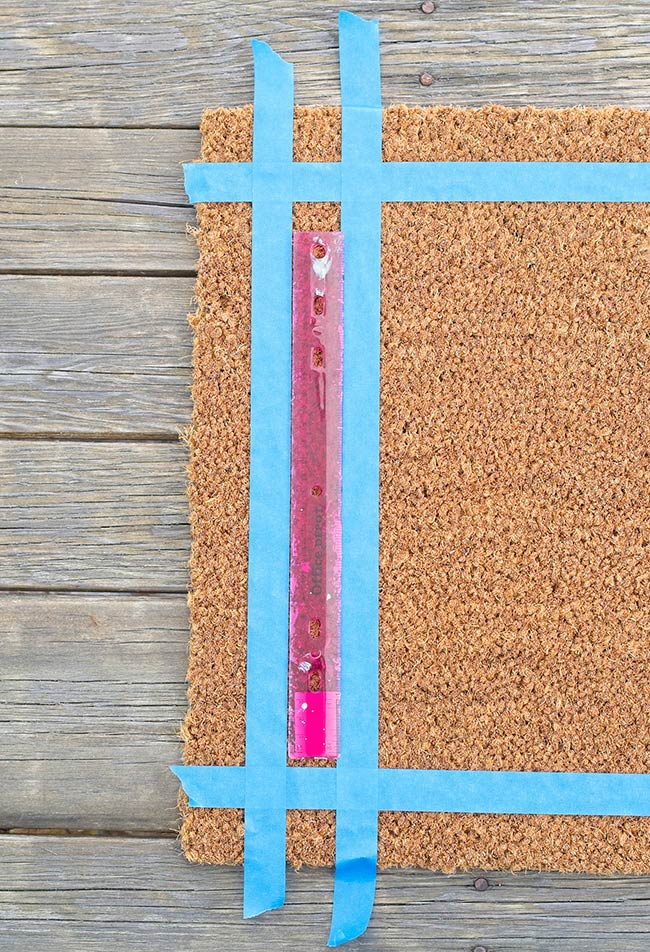
Use your ruler as a guide to make somewhat straight lines (don’t worry about absolute perfection with this project).
Put the ruler against the edge of each of the 4 sides and place a piece of tape all along the other edge of the ruler, spanning the entire width of the doormat.
This is what it should look like when done:
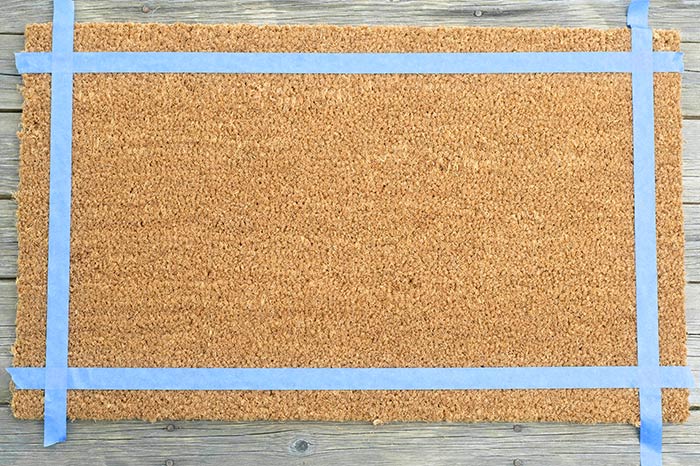
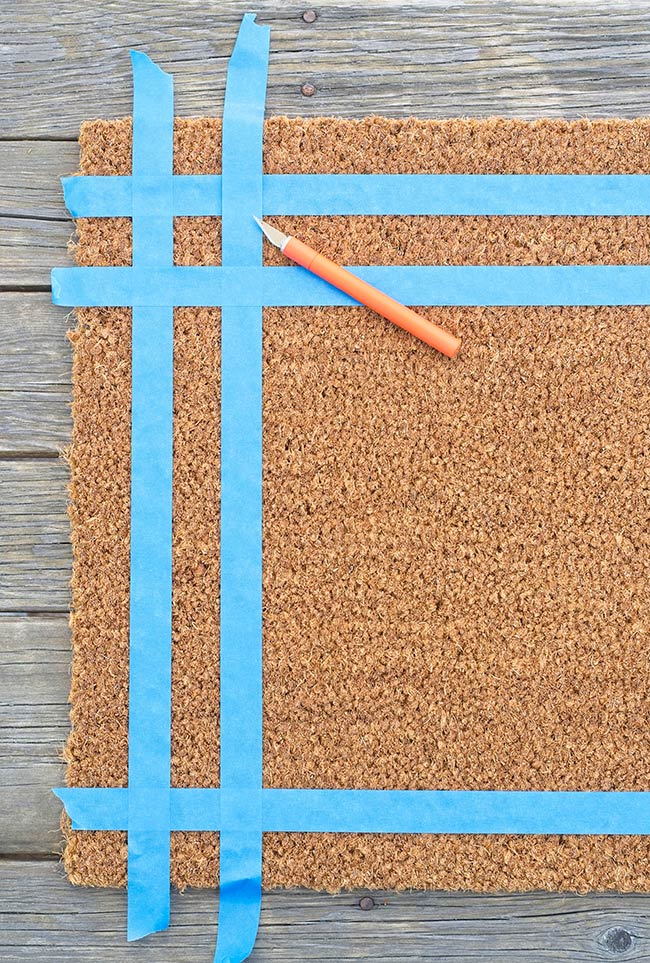
Now, do the same thing for the inside border, using your ruler as your guide:
This is what it will look like (one corner pictured below).
Now, we need to trim away the extra tape (you could also leave it there to make a different design, if you so choose). This is where your craft knife comes in super handy.
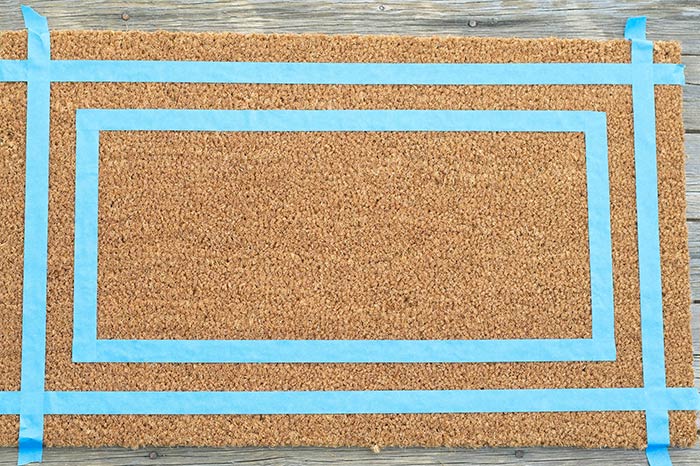
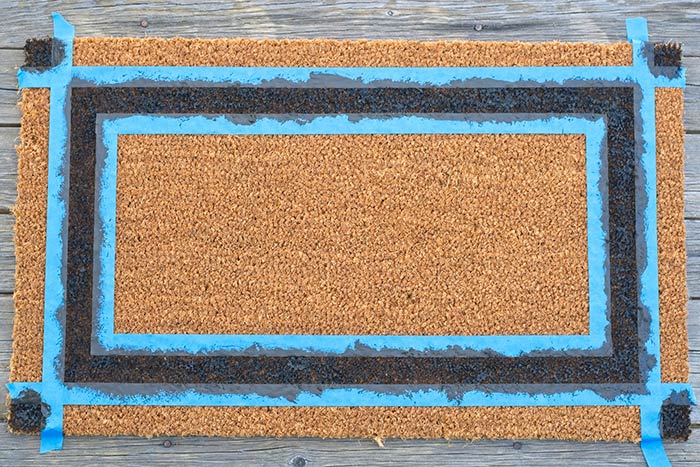
This is what your doormat should look like after trimming away the excess tape from the inner border:
STEP 4: PAINT THE BORDERS
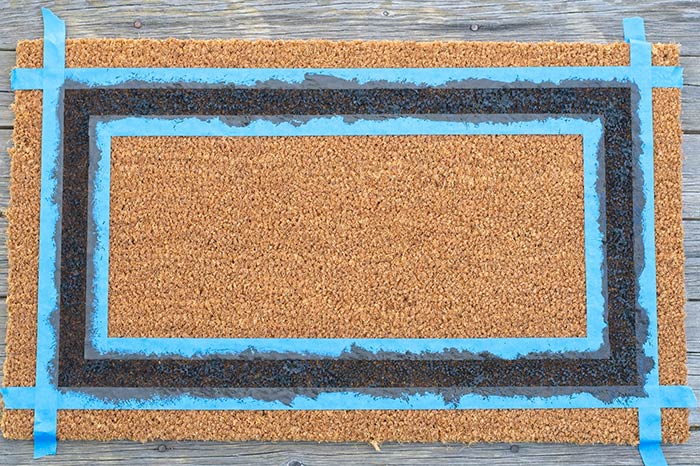
Paint the inside border and corner squares with your black paint.
Take your paintbrush and black paint and *TAP*TAP*TAP* the paint into the doormat with your paintbrush totally upright. This will help ensure the paint gets down into all the nooks and crannies in the rough doormat material.
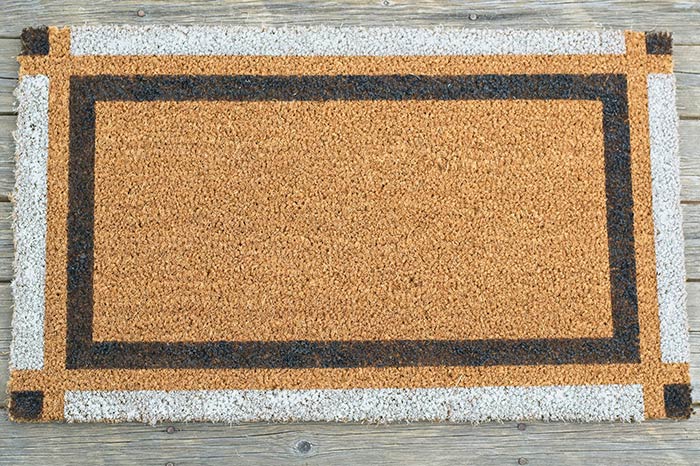
Then using the same method (and a different brush), paint the outer border with your white paint.
This is what your finished borders should look like after pulling up the tape:
STEP 5: CREATE YOUR STENCILS
If you haven’t done so already, print out your PDF stencil templates (download here).
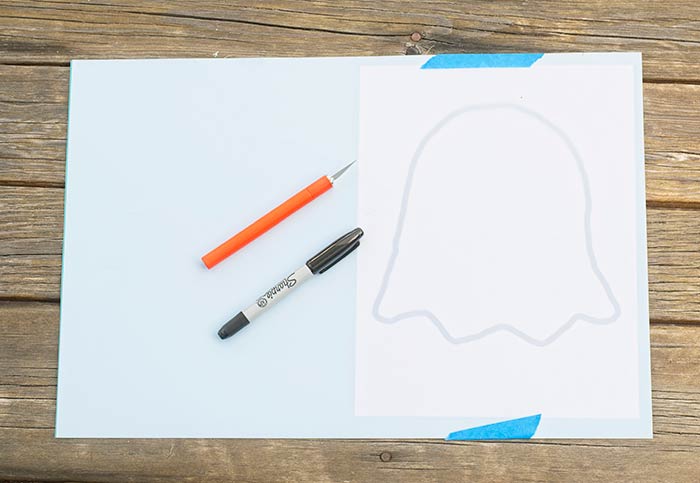
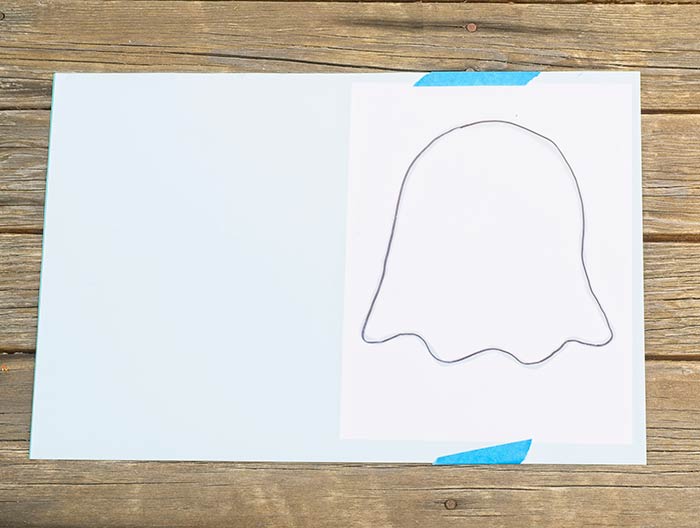
Take your stencil blanks (make sure to peel the protective layer off each stencil blank first) and lay one stencil over each printed template. Tape into place.
Then take your Sharpie and trace the templates’ outlines as shown below.
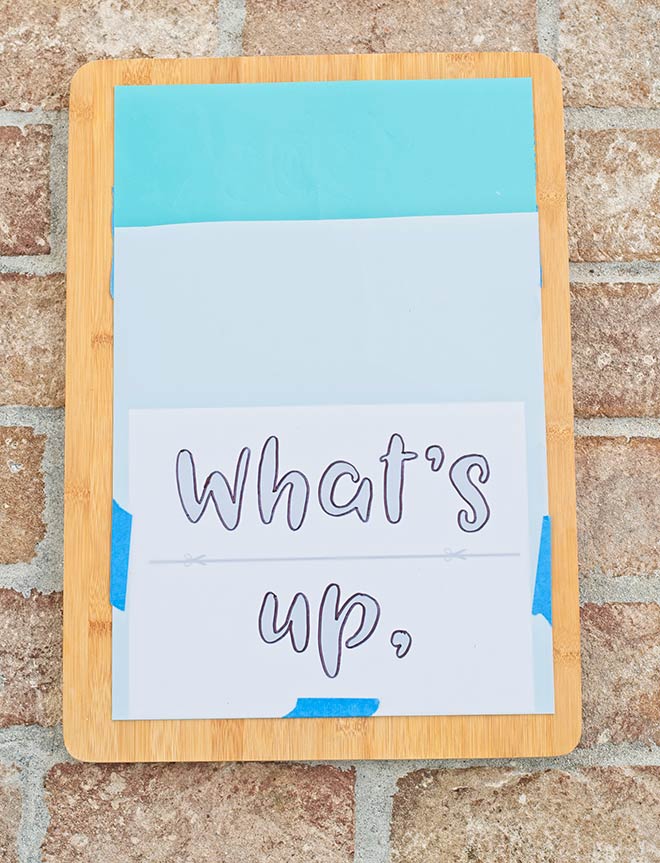
For this step, I used a cutting board under the stencils to make cutting them a bit easier, as well as protecting the table underneath.
Take your handy little craft knife and follow along the Sharpie lines to cut out your shapes/letters. It’s ok if they’re not perfectly cut – the imperfections won’t show in the final product.
Also, make sure to cut some of the stencils in half (where indicated with the scissors icons).
STEP 6: PAINTING WITH YOUR STENCILS
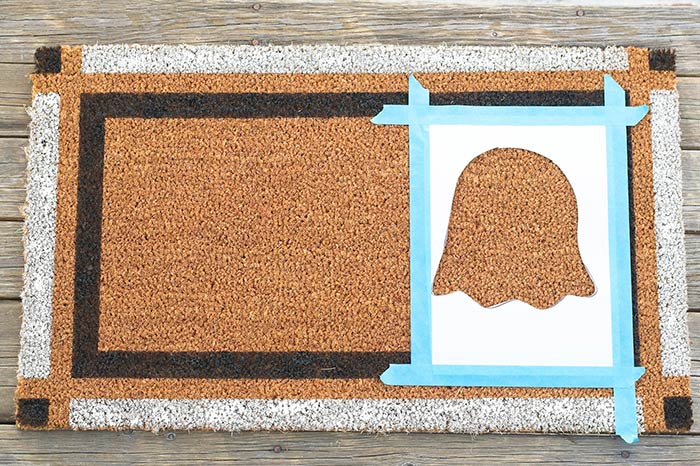
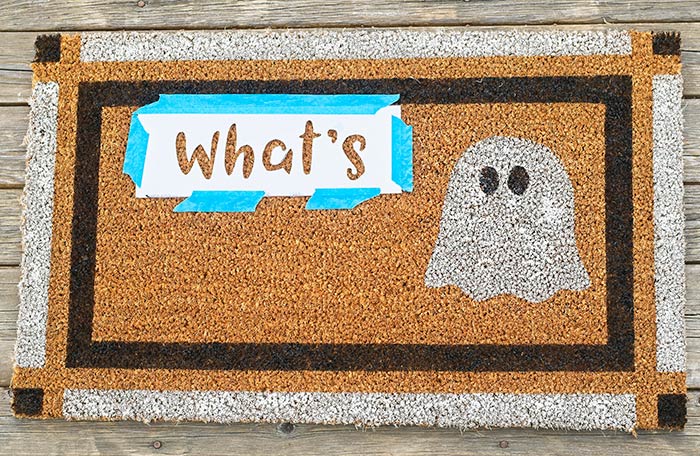
Start with your ghost stencil and place it wherever you like – for this post, I placed mine on the right side. Tape it into place.
Take your paintbrush and white paint and *TAP*TAP*TAP* the paint into the doormat.
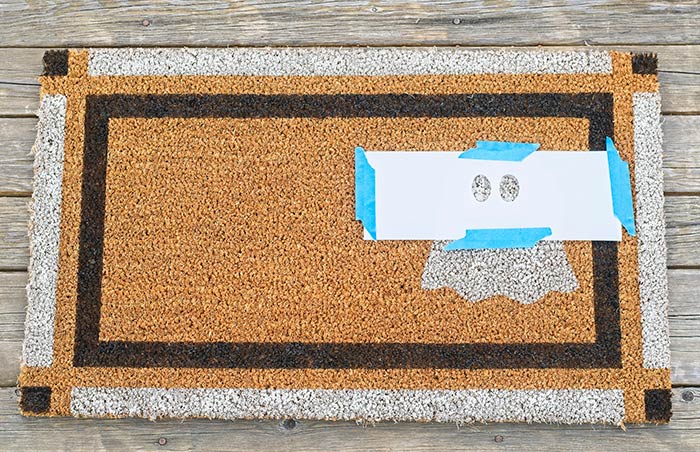
Then, use the eyes stencil and place it wherever you like it on the ghost, and tape into place.
This time, use your black paint and *TAP*TAP*TAP* again.
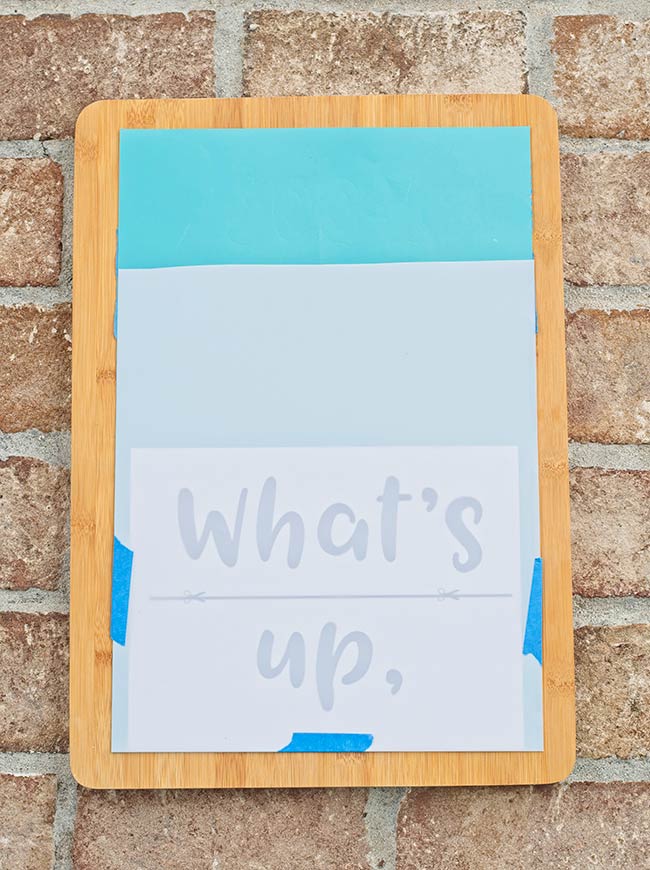
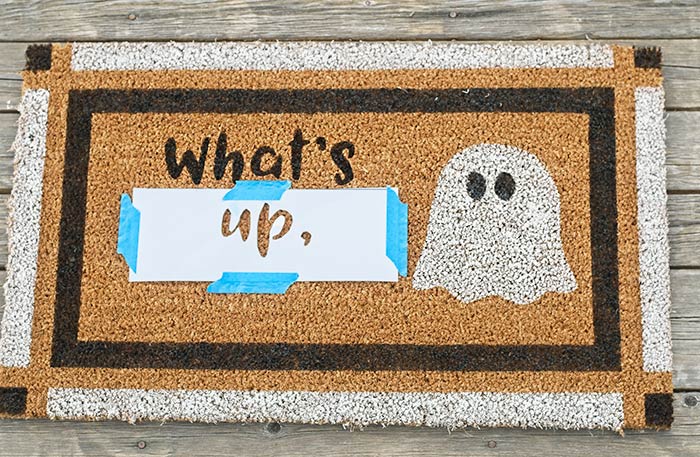
And then, move along to your “What’s”, “up,” and “boo?” stencils.
Use your black paint and *TAP*TAP*TAP* again.

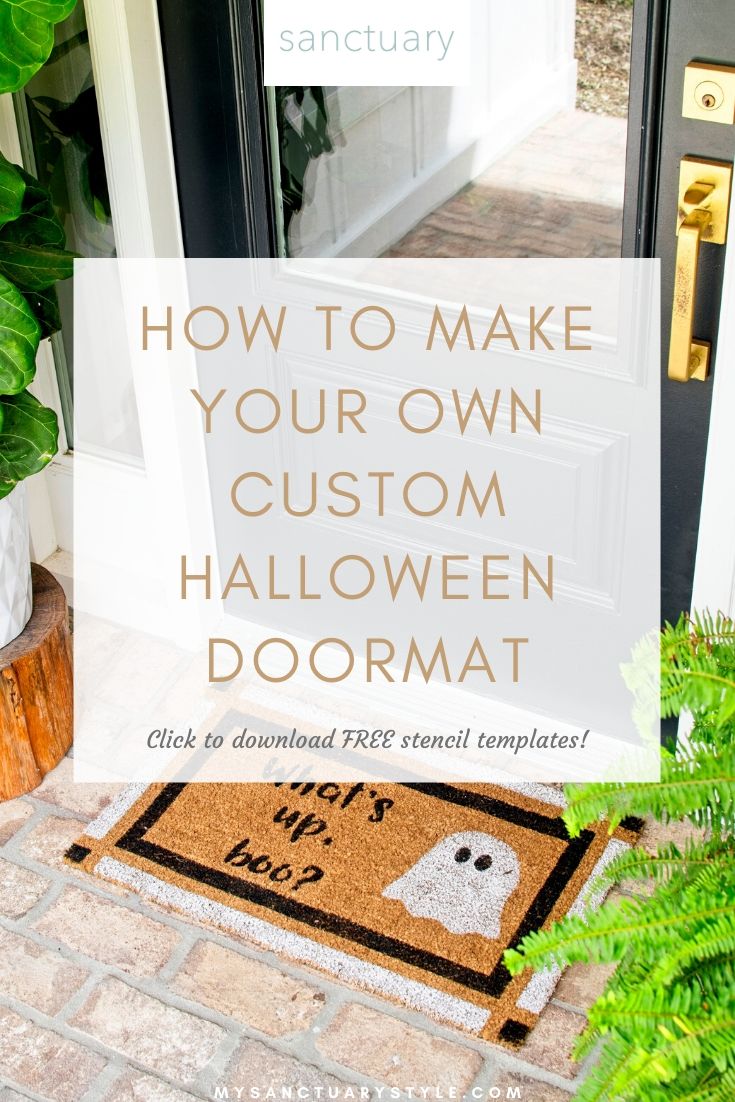
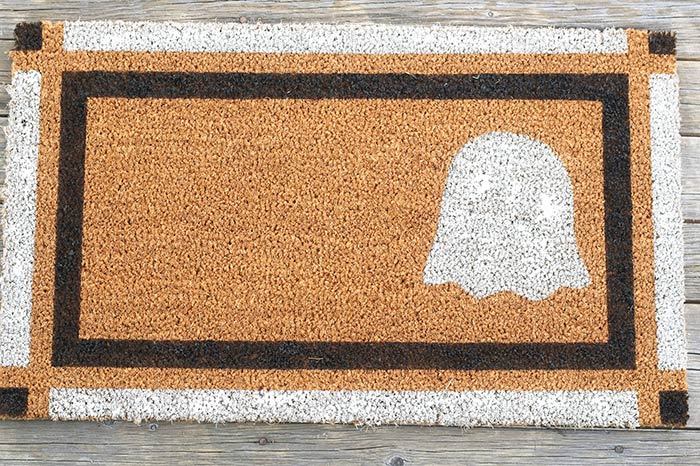
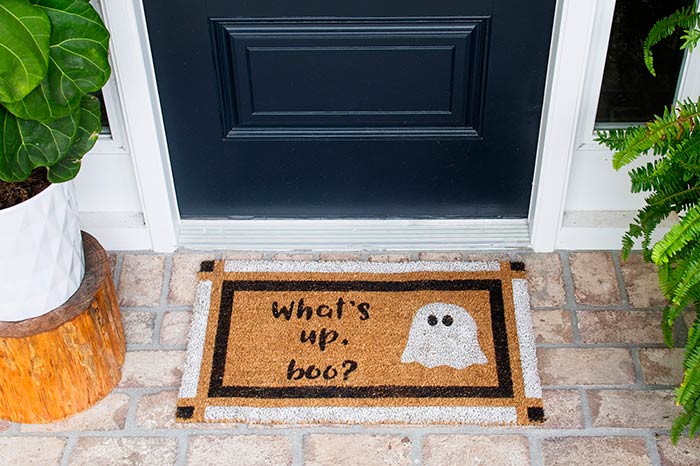
TA-DA!!! This is what your finished doormat should look like:
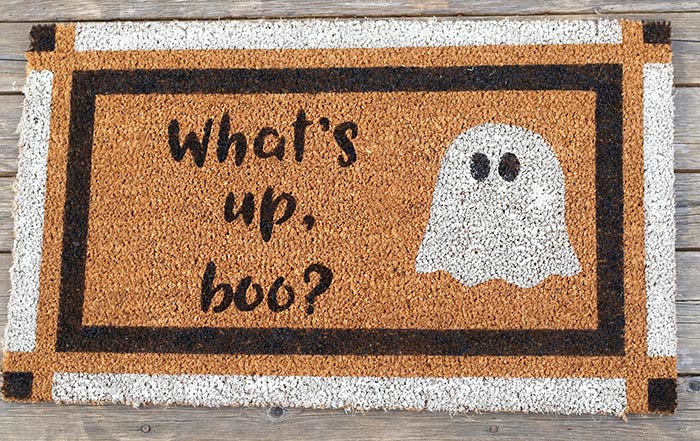
I just eyeballed the placement of the stencils so you certainly don’t have to do it exactly like mine.
That’s why it helps to cut the word stencils in half so you have the freedom to move them around anywhere you like.
In hindsight, I probably should have moved the ghost stencil a little more to the left, but he’s still kinda cute where he is!
STEP 7: ENJOY WHAT YOU JUST MADE!
Thank you so much for following my blog and for letting me help you create your own lived-in, loved-in spaces!