One of my favorite things to do is find high-quality furniture on the cheap at local thrift stores and give them makeovers.
There’s something about finding that little diamond in the rough and giving it a new lease on life that lights me up.
In the past, I’ve only purchased vintage chairs that didn’t need any reupholstering because I had no idea how the hell to do that and didn’t want to spend the money to have it done.
However, it was something I’ve always wanted to learn how to do and it turns out, it’s pretty dang easy and I’m going to show you how!
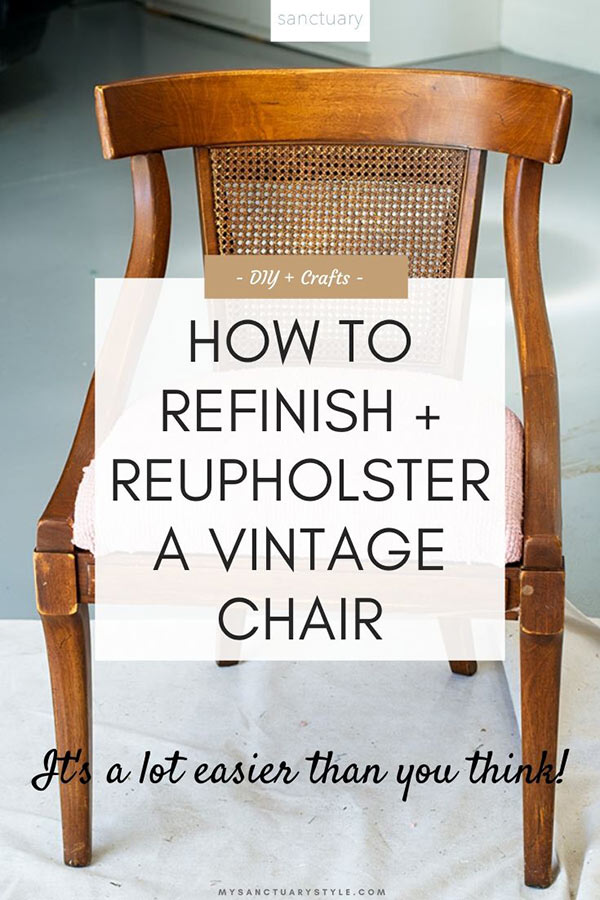
THE “BEFORE” VINTAGE CHAIR
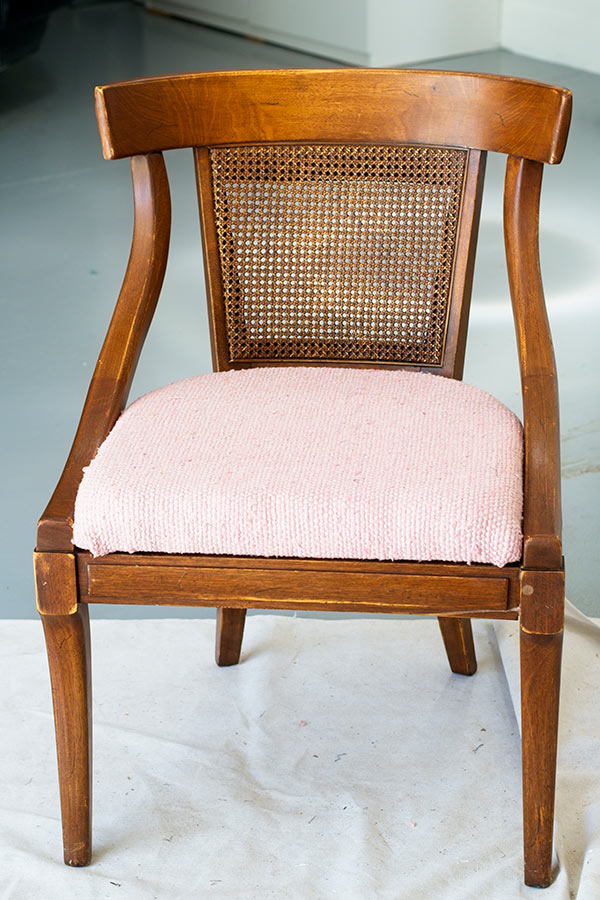
 BEFORE: Cute fabric but super old and it fell apart once I started working on it.
I was looking for 2 matching vintage accent chairs to flank our family room’s entertainment unit and definitely wanted something with a lot of character.
I found 2 of these cuties at a local thrift store for $10 each! I loved the caned backs and the curves on the arms and the tops of the chairs and was instantly smitten.
I originally planned to have a local upholstery shop re-do the seats but that quickly changed when they quoted $75 PER SEAT (not even including fabric)! The employee then whispered to me that I could easily do it myself and even gave me some tips. I was thankful for her honesty and for giving me the confidence to finally do this myself.
 AFTER: Gave them each a bit of distressing, furniture wax, and new fabric!
I found some blush pink vintage-inspired boucle fabric at the upholstery shop that happened to be on clearance (SCORE!) and I bought just over a yard (you need about 3/4 of a yard for 2 seats) for only $8!
The worst part about reupholstering these seats was the HUNDREDS (literally) of staples the previous upholsterer used to fasten the fabric to the bottoms of the seats. I’m not sure if that person was expecting 300mph winds to come whipping through at any moment, but talk about overkill.
If you decide to tackle this DIY project, I highly recommend investing $5 in one of these staple pullers from Home Depot. This thing was a lifesaver!
THE SUPPLIES YOU’LL NEED
FOR YOUR DIY PROJECT
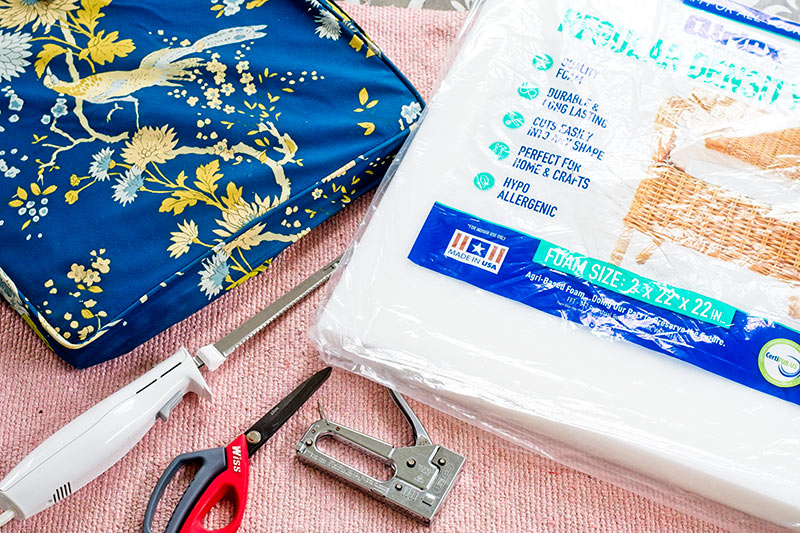
• minimum of 3/4 of a yard of fabric of your choice (this is enough to cover 2 seats)
• light duty staple gun
• staples
• staple puller
• hammer
• pliers
• scissors
• foam chair pads (if needed)
• electric knife (to cut foam, if needed)
• permanent marker (to mark foam)
You may not need every single item on this list. It really boils down to what’s under that old fabric and you won’t know until you remove it from the seat.
In my case, I had to replace the foam on both seats since the existing foam literally disintegrated once I removed the funky old blue fabric. The majority of the foam (which had turned brown from age) turned to powder once I touched it. POOF!
I bought regular density foam chair pads (2″x 22″x 22″) from Joann Fabrics on sale for about $10 each. Joann carries different densities, thicknesses, and sizes to choose from to find the perfect one for your project.
Now that you have your supply list, let’s get started!
REPLACING THE FOAM
CHAIR PAD (if necessary)
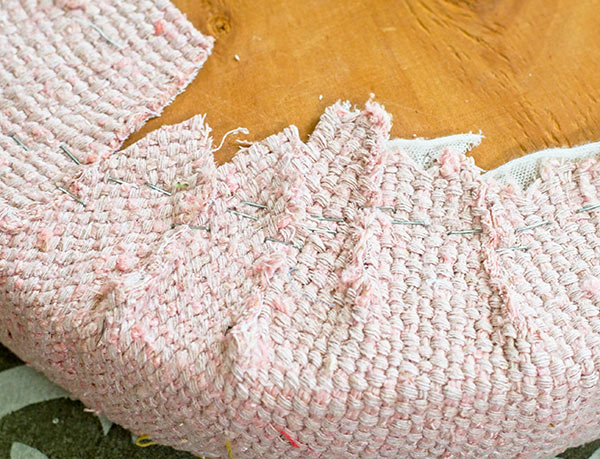
STEP 1: Remove the old fabric using your handy dandy staple puller and pliers.
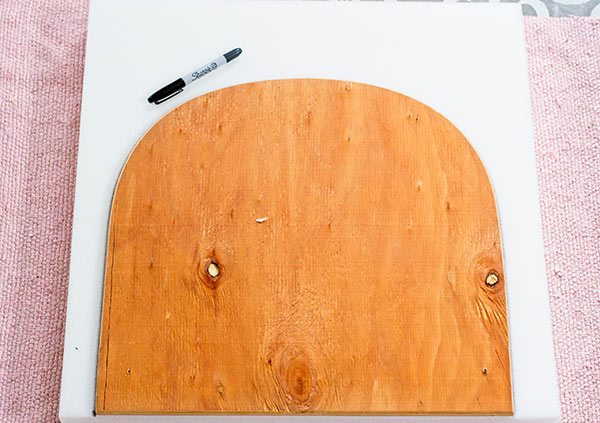
Step 2: Place the wood bottom of the chair on top of the foam chair pad and trace an outline with the permanent marker.
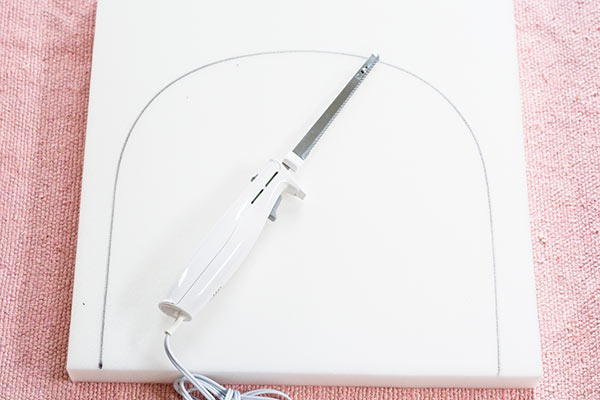
Step 3: Use your electric knife to cut along the pattern line.
If you don’t have an electric knife, you can use a sharp kitchen knife. But trust me when I say that using an electric knife for this step will not only save you time, it will also save you your sanity.
And here’s the new chair pad cut down to the exact size. Super easy, right?
RECOVERING THE SEAT
WITH YOUR NEW FABRIC
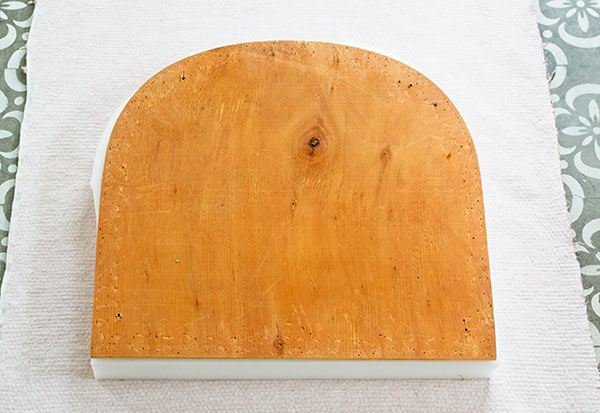
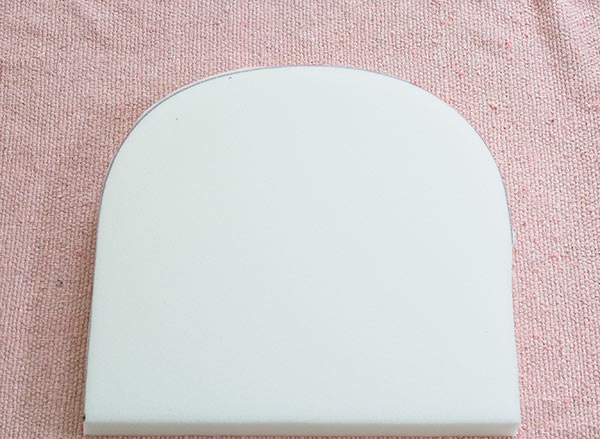
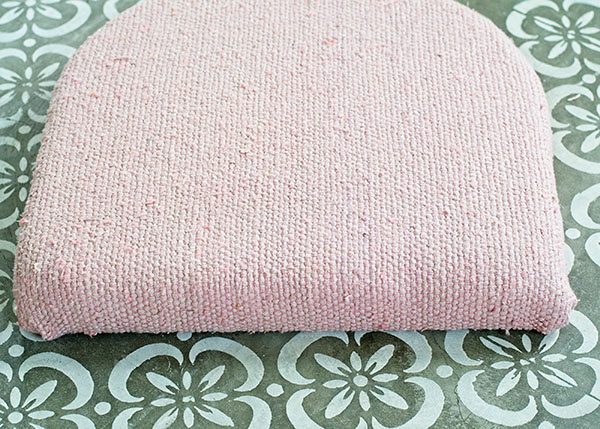
Step 1: Place the chair foam on the wrong side (the “ugly” side) of the fabric, making sure the fabric is in the direction you want. Place the seat bottom on top of the chair foam as illustrated above.
Make sure there is enough fabric on all sides to pull over and onto the top of each seat bottom.
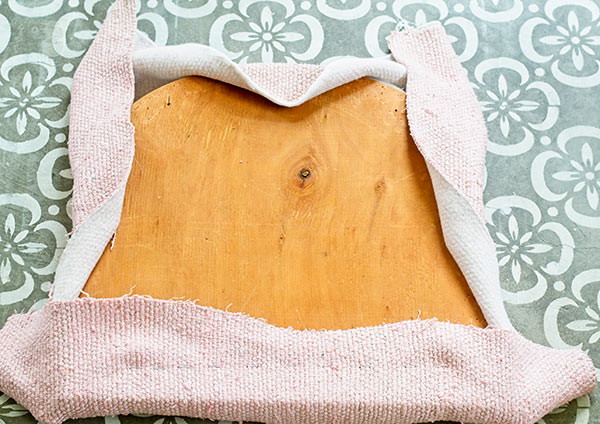
Step 2: Pull each side of the fabric taught onto the seat bottom and tack it into place with a few staples leaving at least an inch of space from any corners (very important!).
You want to evenly space your tacks (as illustrated above). Our goal here is just to keep the fabric in place while we work on it, so you don’t need to go overboard with staples.
Step 3: Starting with the front of the cushion and while pulling taught, staple every 1/2″ to inch along each side.
Use a hammer to tap staples into place if your fabric is thick (mine was pretty thick). Trim the excess fabric away with scissors, but leave enough for the corners.
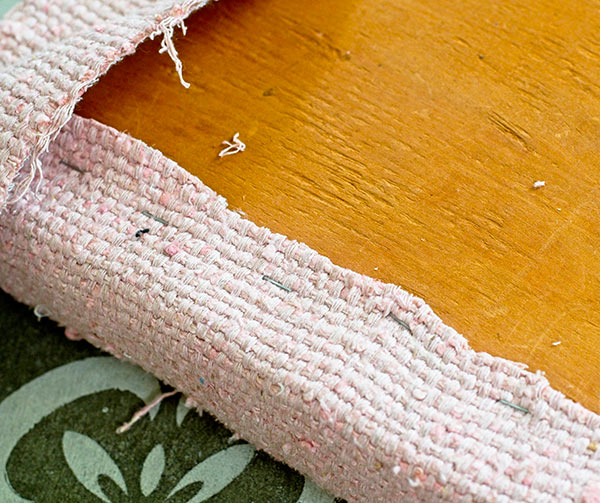
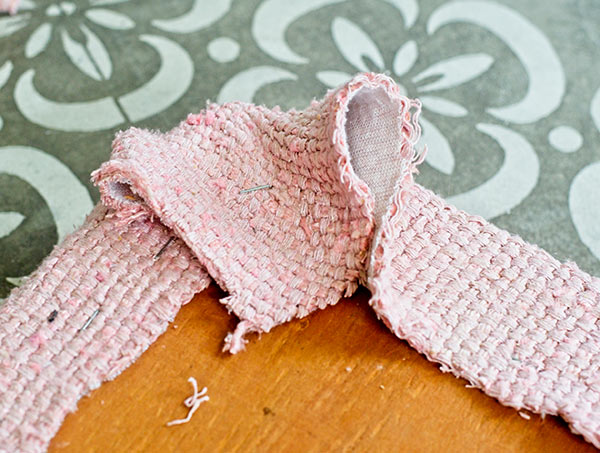
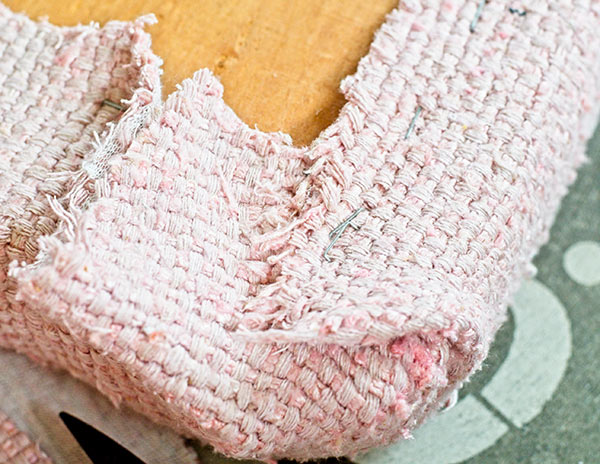
Step 4: More than likely, your seat has curved edges especially towards the rear of the cushion and that’s where things can get a little tricky.
My tip is to use your scissors to cut little slits along the fabric and staple into place as illustrated above. That nice, smooth edge on the curved part of the seat is the end result you want.
Step 5: While pulling the fabric taught, tack the center of the fabric with a staple as illustrated above.
You might need to use a couple of staples for this step depending on the thickness of your fabric.
Step 6: Take one of the sides of the fabric, pull it taught and fold it over towards the center tack and tack it into place with a couple of staples.
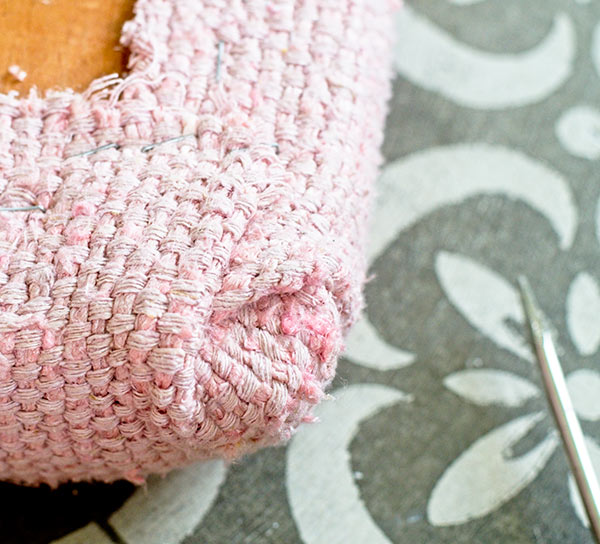
Step 7: Take the other side of the fabric, pull it taught and fold it over and tack it into place with several staples.
BAM! You just reupholstered your very own chair seat! Now that wasn’t so bad, was it?
HOW I REFINISHED MY CHAIRS
Even though there were a lot of scratches on the chairs, I loved the wood and didn’t want to completely refinish it – just enhance it a bit.
So I distressed the chairs using 220 grit sandpaper by running the sandpaper over some random spots to add some more character.
Then I ragged on some furniture finishing wax (instead of polyurethane) because I didn’t want a shiny finish. The wax also really brought out the natural beauty of the wood (look at the Before + After photo at the top of this post to see the difference!).

Voila! Beautiful upcycled vintage chairs and I only spent a little over $50 for 2 chairs, fabric, 2 foam chair pads, and a staple puller (I already had the other supplies).
I hope you enjoyed this post and it gave YOU the confidence to tackle it just like that nice salesperson at the upholstery shop did for me! If you’re looking to tackle more DIY projects, make sure to check out these posts.
Thank you so much for following my blog and for letting me help you create your own lived-in, loved-in spaces!