Welcome back! We’re THIS close to the end of this series (I promise!) but I know it will be worth your wait to see the fully-decorated end result.
If you haven’t already, you can get caught up on Parts 1-3 here, here, and here.
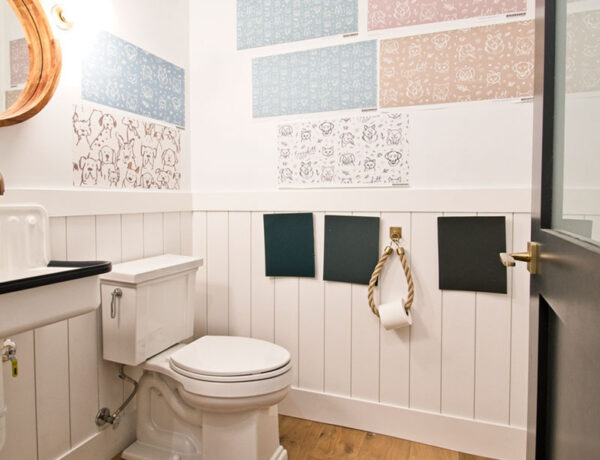
So in Part 3, I decided to nix the wallpaper route and went towards my comfort zone for Plan C: paint.
But for this room, I didn’t want just a “regular” paint job. I wanted a paint technique that exuded an Old World look and feel, something that made this little space feel like it’s been loved for many years – something with patina.
Originally, I wanted to use a lime wash product but it was going to cost more than I budgeted for and I still wanted to get a new mirror, towels, and artwork. So I hit up YouTube and found the next best thing: a color wash technique using regular paint.
My wallpapering attempt was a bust, but I was feeling pretty confident about tackling this color washing technique. So how did I do? Read on to find out!
THE PROCESS TO EXECUTE PLAN C
So here’s what the freshly-painted wall looked like before I applied the color wash technique:

I used Benjamin Moore Aegean Teal at 25% strength on the walls and 75% strength on the vertical shiplap wainscoting, both in satin finish. For now, I decided not to paint the white trim molding.
The reason why I didn’t paint the molding is because the trim cap, base molding, and wainscoting run flush into the door casing and there isn’t a reveal. Because of this, there isn’t a clear demarcation of where one stops and the other begins (take a look at the photo at the very top of this post and you’ll see what I’m talking about).
So if I were to paint all of that trim molding Aegean Teal, it’s tricky to figure out exactly where to stop painting it inside the door trim. I can always decide to paint the trim molding in the future so it’s no big deal, really.
I actually like the stark contrast between the dark teal and the white molding, but I’m sure some won’t care for this look. Good thing for them they don’t have to live in my house …
THE TOOLS I USED


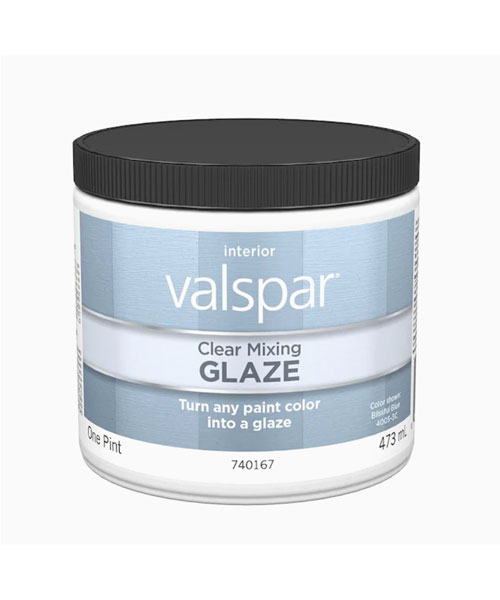
Most of the color washing videos on Youtube instructed adding water to the paint to thin it out a bit. The problem with that technique is you will have a very short period of time to work with the paint before it dries so I decided to mix this Valspar Clear Mixing Glaze with the paint instead.

Now, I can’t really say how much of the 75%-strength paint I mixed with the glaze. I just kinda eyeballed it until it had the consistency I desired. I kept the leftover paint/glaze mix in case I ever need it for touch-ups.
The next important part of the color washing technique is to use a wide block brush like this one I bought at Lowe’s for $11.
Using a regular paint brush won’t give you that “Old World” look you’re trying to achieve, so you’re better off investing in the right tools from the start to save both time and money in order to get the desired effect.
ADDING THE GLAZE TO THE WALLS
In the photo below, you can see the demarcation of where I applied the glaze (darker top portion) versus the 25% strength Aegean Teal. Just look at that beautiful texture the glaze immediately added!

I simply took the block brush, lightly dipped the tip of it into the paint tray full of the glaze mix, and quickly made big “X”s a section at a time, overlapping each section so they blended into each other nicely.
The Valspar glaze will give you extra time to work with the paint, but you still need to work somewhat quickly before it dries because it is water-based.
THE FINAL RESULT
I honestly couldn’t be any happier with the final result! It didn’t take long to apply the color washing technique – about 20 minutes – and the results are insanely GORGEOUS.
I LOVE all of the “movement” the glaze added to the plain painted walls underneath and it really gives the space that “Old World” look I was going for without spending a small fortune on a tiny 5×5 room.

The only thing I might end up doing (if I have the energy and patience) is to do the same thing to the ceiling. But, I’m gonna live with it for awhile before I decide to go all balls-out crazy with the glaze again.
That aside, this project is almost done now – yay! I added a new mirror, a new brass light switch cover I instantly “aged”, new towels and basket, and a $5 sample tile to go into that little niche in the wall.
I also plan on adding a small Turkish rug for the sink area but haven’t found the right one yet (but I sure do love the hunt!).
And I finally found some canvas artwork on Etsy that I fell head-over-heels in love with and ordered it yesterday and can’t wait to frame and display that sucker in the next few weeks.
I’ll be covering all of this in Part 5 so please make sure to stick around because I think you’re gonna love seeing all of the little accessories that really helped make this tiny space come alive with personality!
If you enjoyed reading this article, make sure to sign up for the weekly newsletter below so you never miss a post.
Thank you so much for following my blog and allowing me to inspire you to create your own lived-in, loved-in spaces!


