More purging, y’all! I meant to schedule this post for last week but couldn’t get around to finish writing the dang thing. But hey – it’s already, oh, more than a year late so I guess a few more days doesn’t hurt.
When we were first planning our farmhouse build in late 2016, I knew I wanted a separate space where I could meet with my photography clients as well as be able to have photoshoots.
My pet photography business started to grow in 2016 and I didn’t want to continue holding sales meetings at clients’ homes because our former small 2-bedroom beach cottage wasn’t conducive to hosting professional meetings.
I wanted to have a nice, calming space without distractions (my clients either had young kids or barking dogs) and didn’t want to keep schlepping my frame and matting samples in my rolling suitcases anymore. That was getting really old really fast …
Additionally, I’m a musician and I needed a space that could also house my growing family of musical instruments. What I really needed was a multi-purpose space.
So The Hubs and I decided to make the investment to have a small 10×11 room (with a powder bath) added to the back of our garage in the constructions plans. The studio has its own entrance off of the driveway so clients don’t need to walk through our house. Plus, we figured a bonus room would add a lot of value to our house when we sold it one day (which was definitely proven true during the pandemic!).
When I first decorated the space in 2018, I went crazy with a custom paint match to Farrow & Ball’s “Calamine” pink (it really is the most perfect pink!). But after living with all that pink for 2 years, I was itchin’ for a change in scenery and wanted to “de-pinkify” the room a bit.
I also had a few other projects I wanted to do to zhoosh up the space: add a HUGE magnetic bulletin board, make a slipcover for my “meh” Wayfair settee, make a keyboard tray, and also consolidate most of my clients’ portraits (I use as samples) to one wall.
I like how it turned out overall (I moved things around and got rid of the pink rug since then) but I’ve recently been itchin’ for a change again. Good thing paint is only $60 and a few hours of my time … ha!
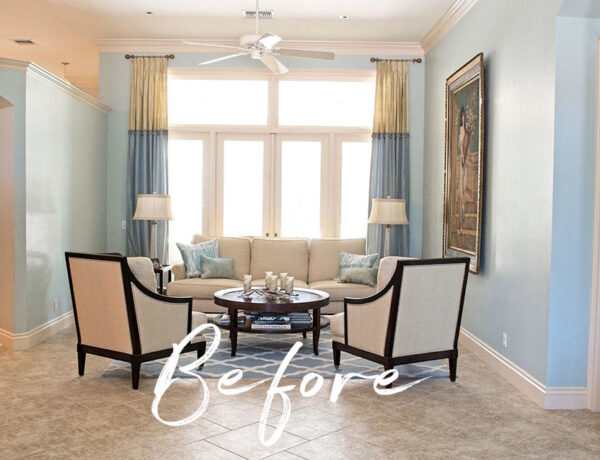
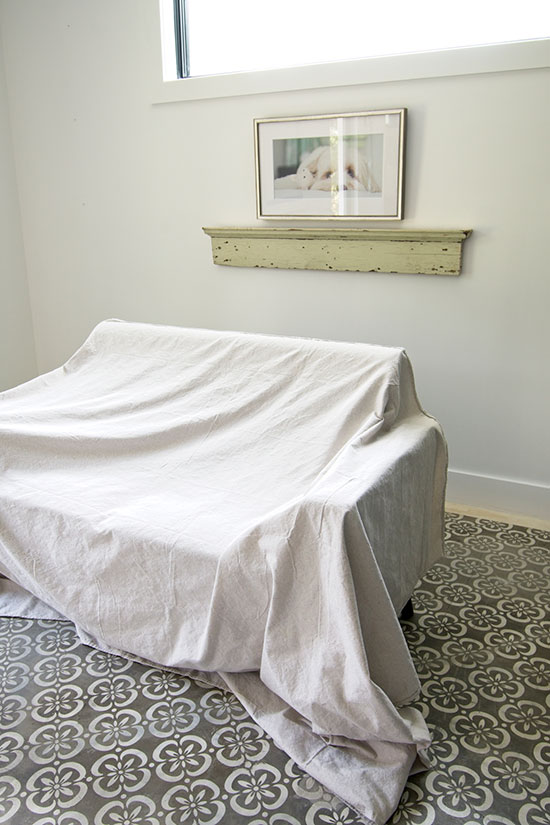
THE “BEFORE” SITUATION


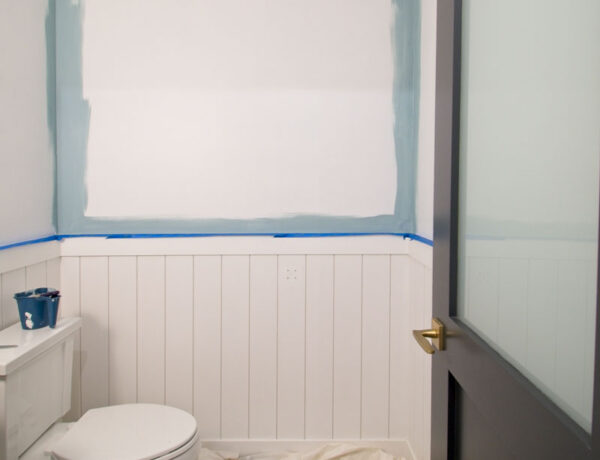
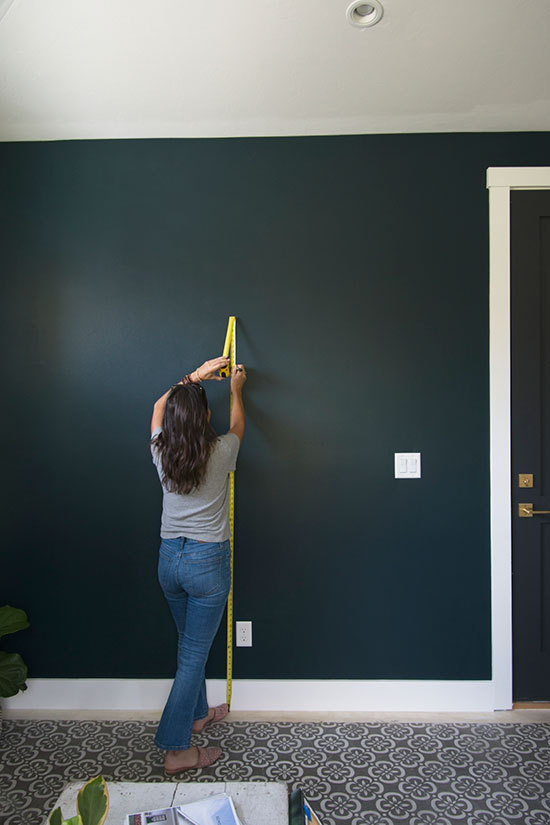
THE PAINT COLOR I CHOSE
I wanted to keep some of the Calamine pink in the office because it’s such a soothing and cheerful color and decided to offset it with a dramatic, super deep blue-green hue and landed on Sherwin Williams “Cascades.”

I can’t even begin to tell you how GORGEOUS this color is in person! I tried my best to accurately capture it with my camera but this photo doesn’t do it justice.

I think this color would be an absolute show-stopper on lower kitchen cabinets paired with either white uppers or open shelving and warm wood accents sprinkled throughout the kitchen.
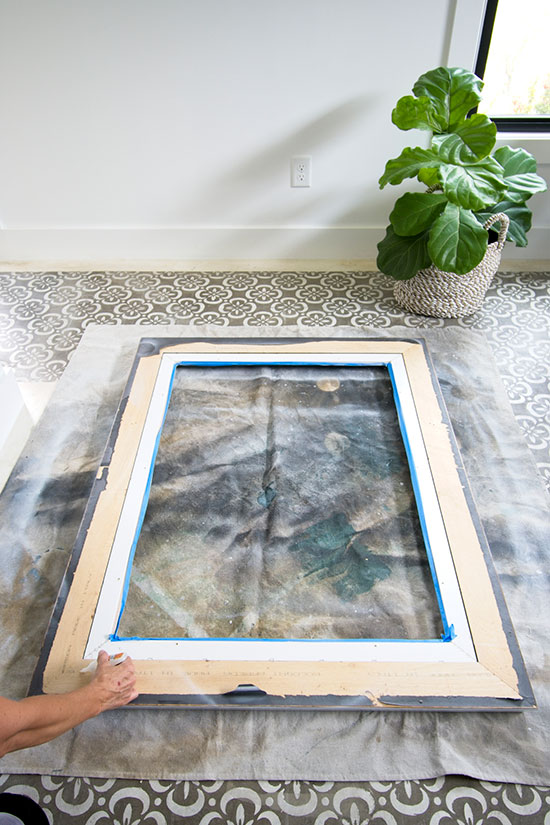
MY DIY MAGNETIC BULLETIN BOARD
I wanted a REALLY BIG framed magnetic bulletin board but didn’t want to spend hundreds on one so I went the semi-DIY route.
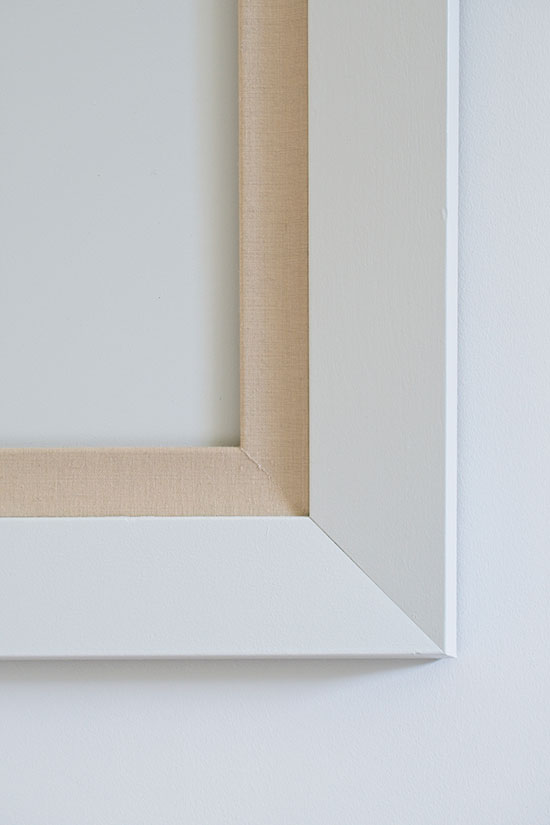
My friend, Kelly, owns a local framing shop so I asked her if she had any old frames she’d like to part with and she happened to have the perfect specimen for me. It was 36″x48″ and had a wide wooden frame with a cream-colored linen inset. Yes, please!

I gave the dark frame a couple of coats of bright white paint (was $8 at the time) and then I painted a piece of galvanized sheet metal ($12) and duct-taped it to the back, added some hanging hooks, and VOILA! A brand new magnetic bulletin board for $20! Thanks, Kelly!


Now I realize not everyone has access to their own amazing Kelly, but you could certainly find a large frame at any local thrift store and paint it whatever color suits your fancy.
And then to finish it off, I bought the cutest (and tiniest) “Mighty Gold” magnets from CB2 which have, sadly, been discontinued. Those little guys are teensy but they are ridiculously strong!
MAKING A SLIPCOVER FOR THE SETTEE
I’m going to preface this section by telling you I’ve never made a slipcover before.
I’ve sewn lots of things (and not always well, mind you) like curtains, duvet covers, tote bags, a couple of dresses, and pillow covers but never a slipcover.


I’ve always wanted to make a slipcover – Lord knows I’ve watched enough YouTube videos on how to do it – so I figured this was an opportunity to try it.
I was planning on using a canvas drop cloth for less than $20 so I figured I didn’t have much to lose.
FULL DISCLOSURE: Many mistakes were made and there was a LOT of cussing going on during the process, but there was an equal amount of satisfaction after realizing I actually finally made a dang slipcover.
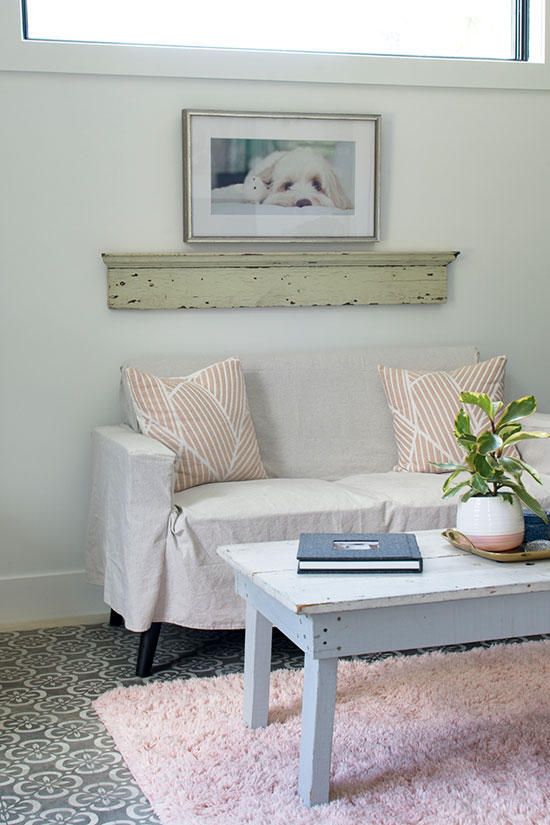
It turned out better than I hoped and it ultimately did its job – covering the grey fabric and also adding more cottage vibe to the space. Totally worth all the cussing and frustration!
CREATING A GALLERY WALL
I wanted to consolidate most of my sample portraits (from client shoots) to one wall. I used to have them separated by pet portraits on a couple of walls and human portraits on another wall.


So I started off with my biggest (and my favorite!) canvas print right in the middle and built it out from there. There was no pre-planning done – just kinda winged it and I think it turned out cute.
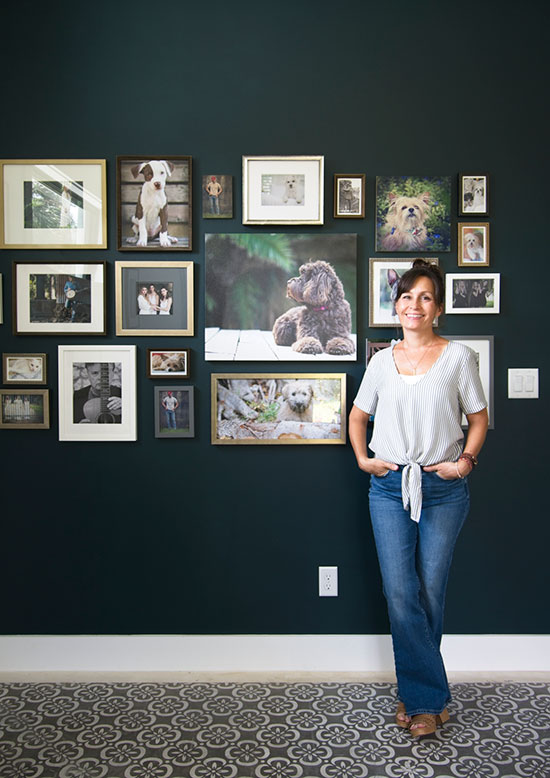
I’ve added more portraits to this gallery wall since this photo was taken and I have a bunch more I need to hang but I’m not going to bother since we’re planning on moving up to Orlando next year.
It’s just going to be more nail holes for me to fill when we get the house ready to sell so I’ll take a hard pass on that and wait until I have a new studio space.
THE MINI-MAKEOVER “AFTER”


If you enjoyed reading this article, make sure to sign up for the weekly newsletter below so you never miss a post.
Thank you so much for following my blog and allowing me to inspire you to create your own lived-in, loved-in spaces!