After our dog, Faith, died from cancer in early May (you can read all about it here and here), I tried keeping myself busy so I wouldn’t constantly break down crying.
I had a growing DIY project wish list that seemed to be nothing short of a mile long and I figured it was finally time to start chipping away at it.
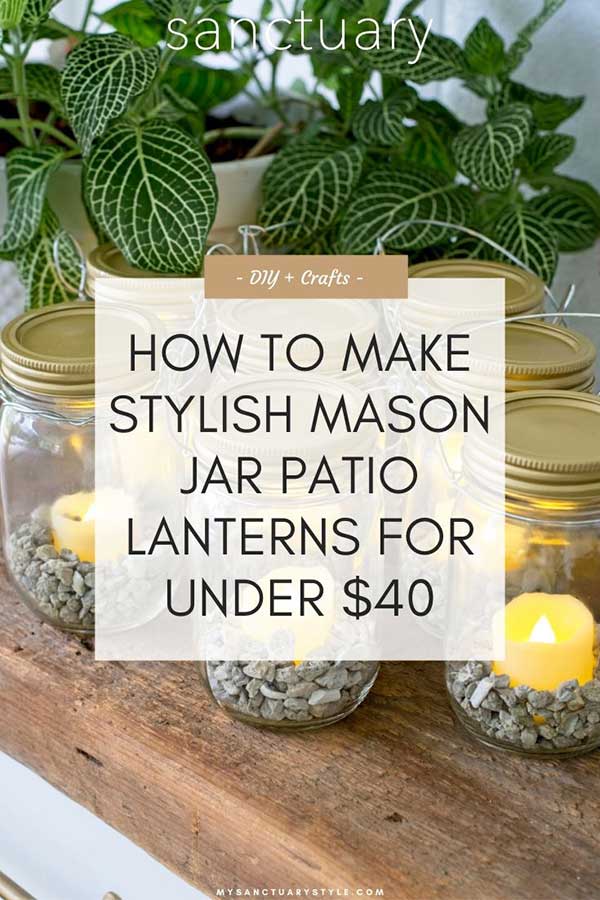
I made some super cute Mason jar lights for our last house but this time around, I wanted to elevate the jars to a higher, more stylish level for our modern farmhouse.
This backyard patio project was inexpensive, fun, and didn’t take much time at all to complete. And the payoff was huge because our backyard looks so magical at night now!
THE “BEFORE” – A GRAVEYARD
OF RUSTY SOLAR LANTERNS

I scored these solar lanterns at Joann’s two summers ago for $5 each (they were normally $25 each!) but these poor suckers couldn’t survive southwest Florida’s harsh climate conditions.
The salty air from the Gulf of Mexico (only a few miles away) pretty much destroys anything that lives outside. Something that typically wouldn’t rust anywhere else will rust here. Grills don’t last long at all. It’s a pain in the ass, to put it bluntly.
What I didn’t like about these lanterns is the fact that the bulbs were not regular lightbulbs (they were plastic) so if they burnt out, they couldn’t be replaced. What a waste.
Anyway, I had the shepherd’s hooks for many years (originally black) and I just used one of my favorite gold spray paints to give them a super quick makeover.
THE “AFTER” – A TOUCH OF
GLAM FOR OUR PATIO

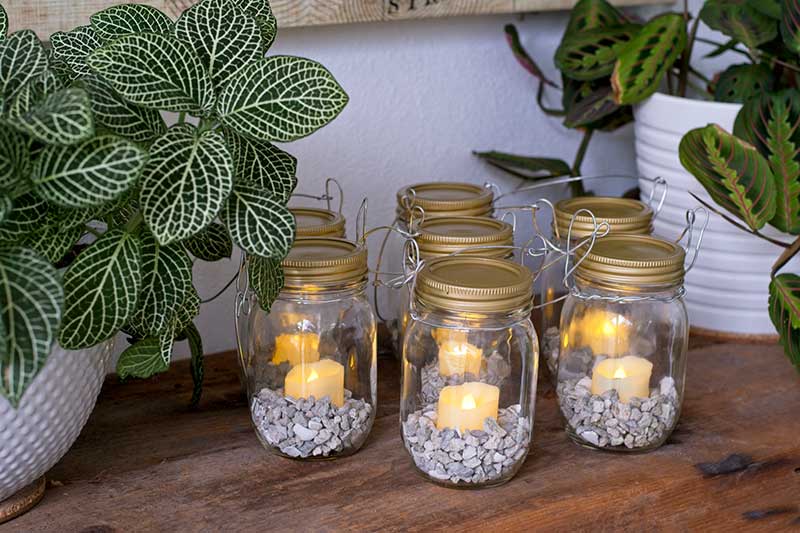
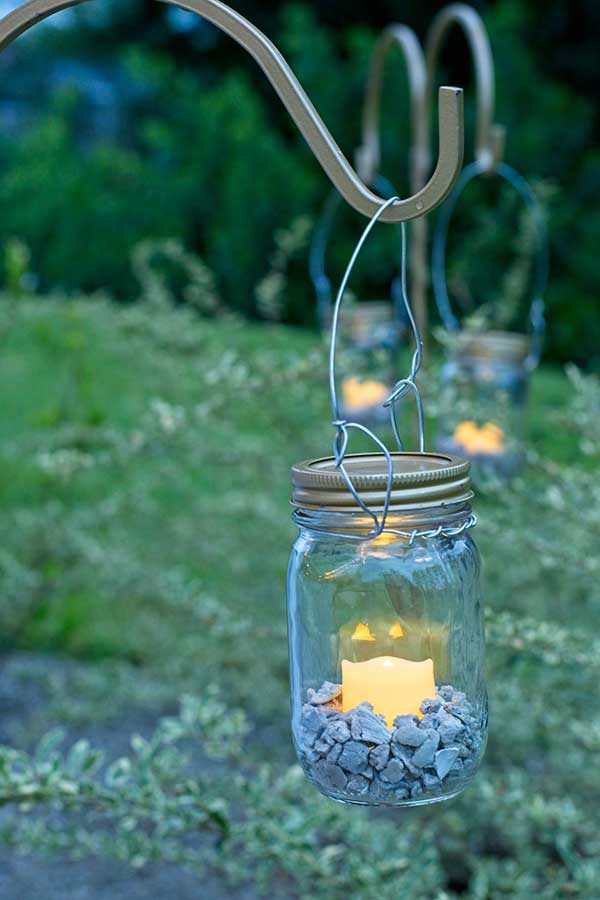
I just love how these little guys turned out! They’re simple but not boring.
The gold paint brings an unexpected glamorous touch to the lanterns, yet there’s still a hint of rustic charm because of the perfectly-imperfect hanging wire.
And the best part? The candles are battery-powered and come with a remote. A REMOTE, Y’ALL!
THE SUPPLIES YOU’LL NEED
FOR YOUR DIY PROJECT

• Mason jars with lids – I prefer the smooth jars, but use whatever kind you like best
• LED tea light candles with remote control
• Gold spray paint
• Galvanized steel hobby wire
• Little stones to line the bottom of each jar. I used some fossil rock from our patio, but you could use pea gravel or fish tank gravel.
• Wire clippers
• Needle-nose pliers (to help bend the wire)
I ended up only spending around $35 because I already had the little stones, wire clippers, and needle-nose pliers.
A little side note: Use whatever size Mason jar you want for this project – you don’t have to use the small size I chose.
I preferred my lanterns to be on the smaller side for our backyard space so they worked out perfectly for my needs.
GIVE THE LIDS & RINGS
A QUICK MAKEOVER
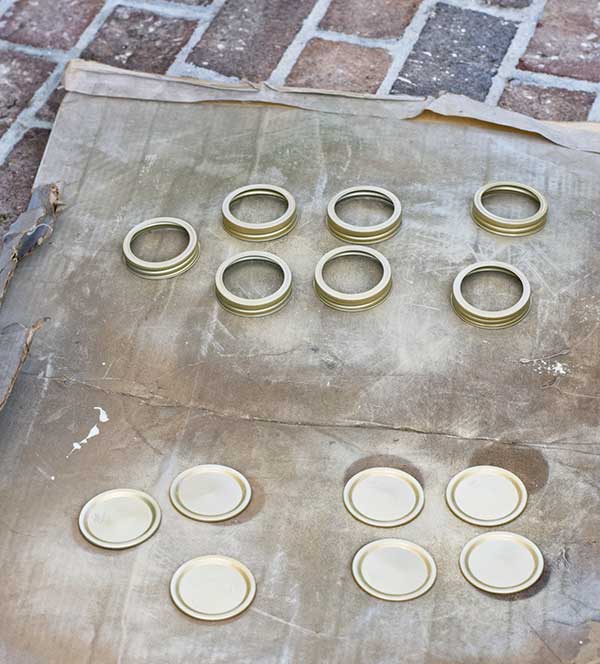
STEP 1: Spray paint the lids and rings with the pretty gold paint.
STEP 2: Let them dry overnight so they cure. I left mine in the garage and they were ready to go the next morning.
MAKE THE INSIDES OF THE
JARS LOOK REAL PURTY
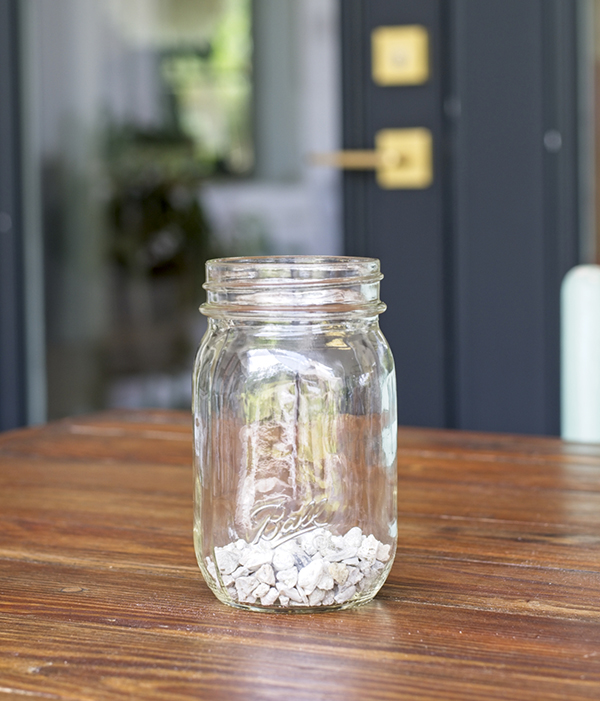
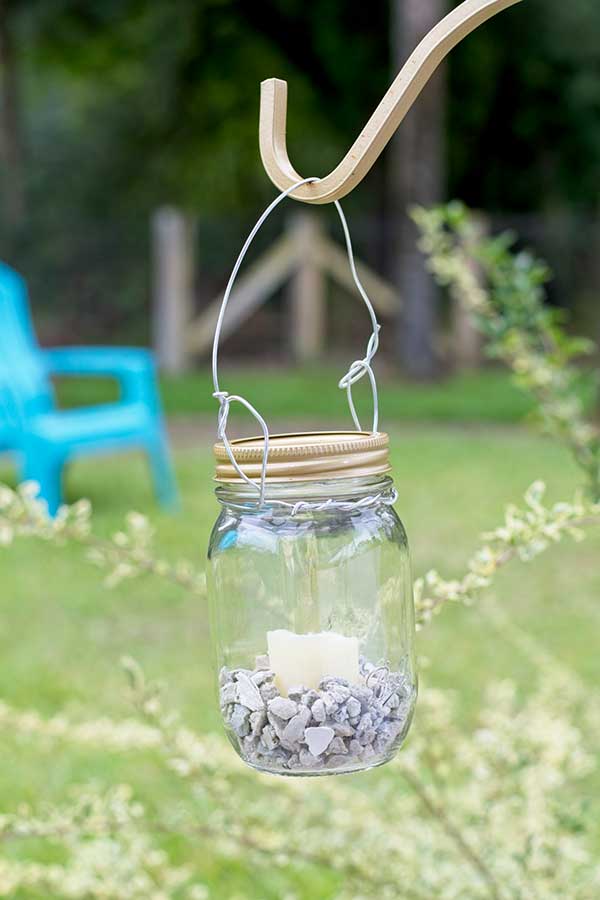
Step 1: Line the bottom of each jar with a layer of stones.
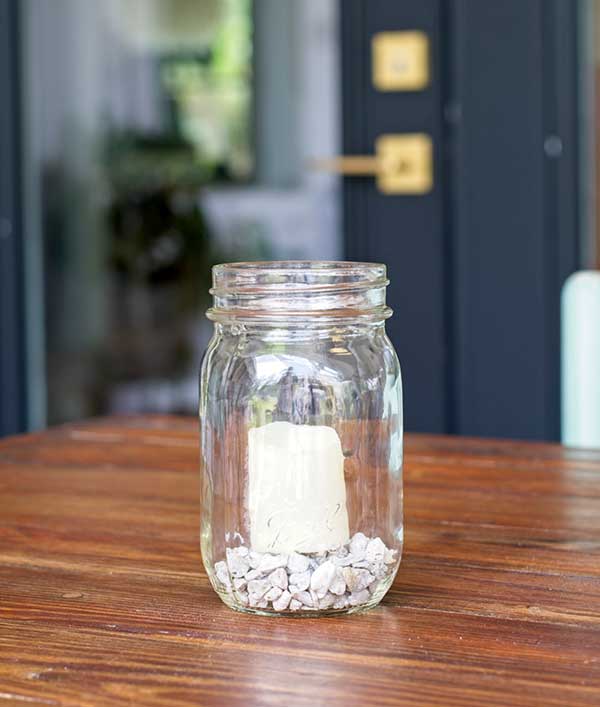
Step 2: Place a candle on top of the layer of stones.

Step 3: Add more stones to the jar, partially burying the candle.
This will help anchor the candle whenever the jar moves around from the wind.
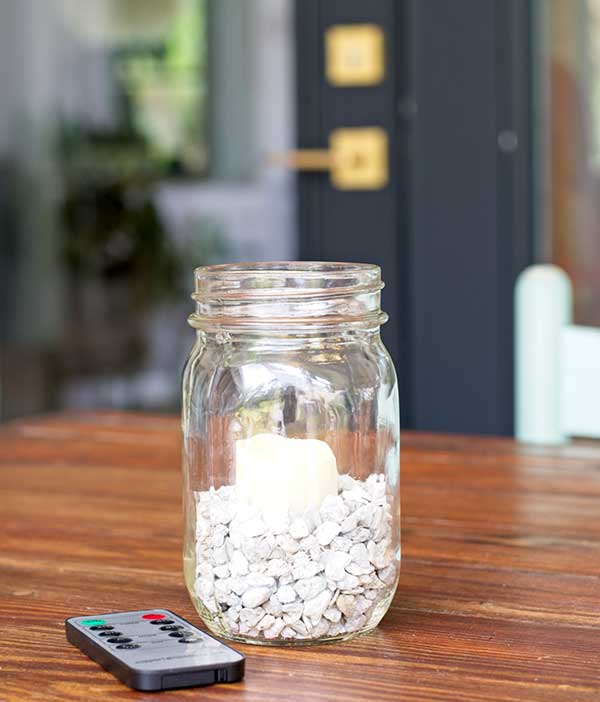
Step 4: Test the remote control to make sure each candle works properly.
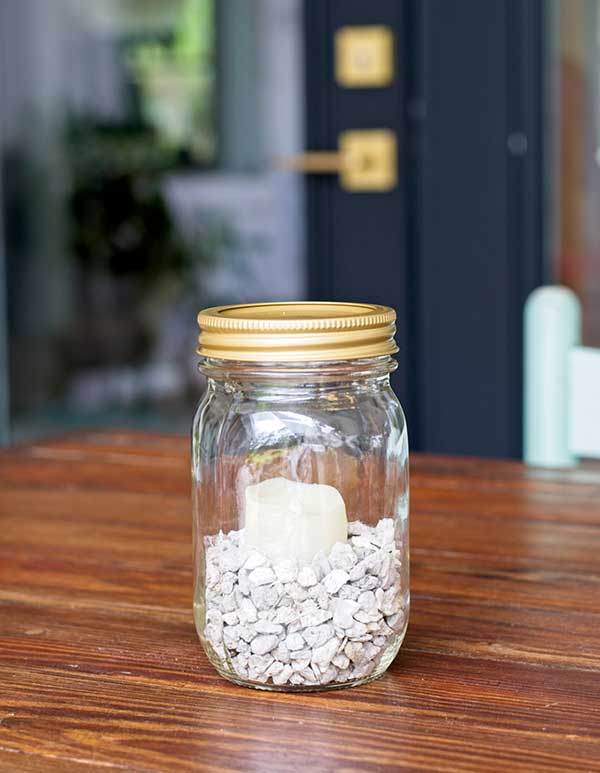 Step 5: Tightly fasten a lid to each jar.
Super cute already, right?
MAKING THE PERFECTLY-IMPERFECT HANDLES
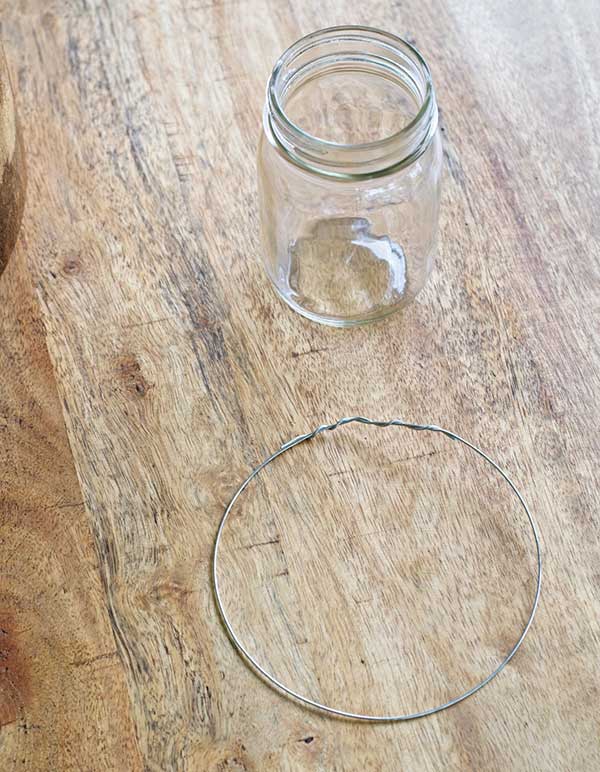
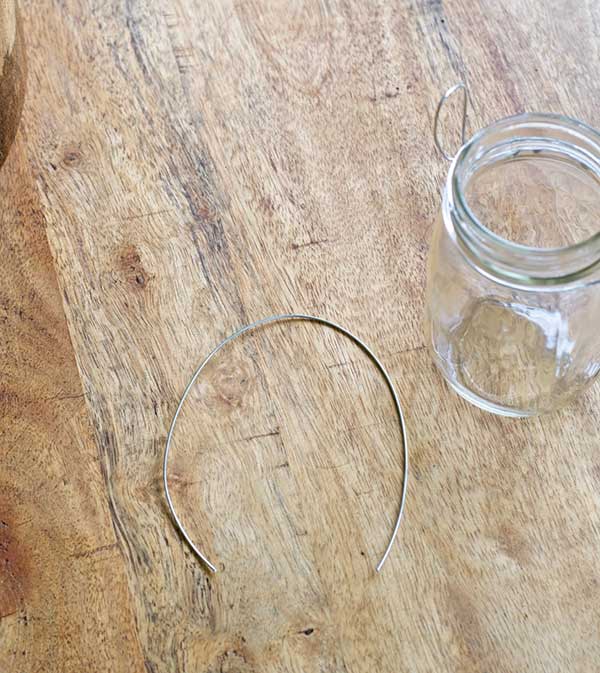
Step 1: Cut a piece of the galvanized hobby wire that’s about double the circumference of the jar.
Step 2: Form the wire into a circle and fasten the ends as shown in the photo.
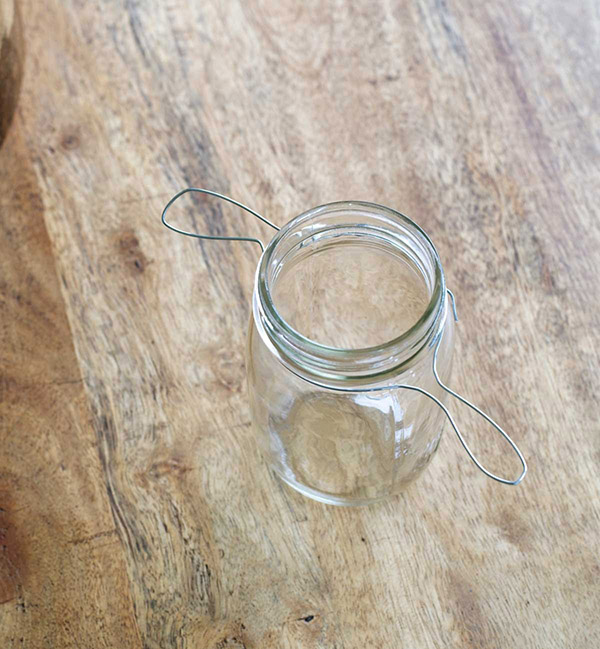
Step 3: Surround the top part of the jar with the wire circle and then pinch the ends, forming little loops.
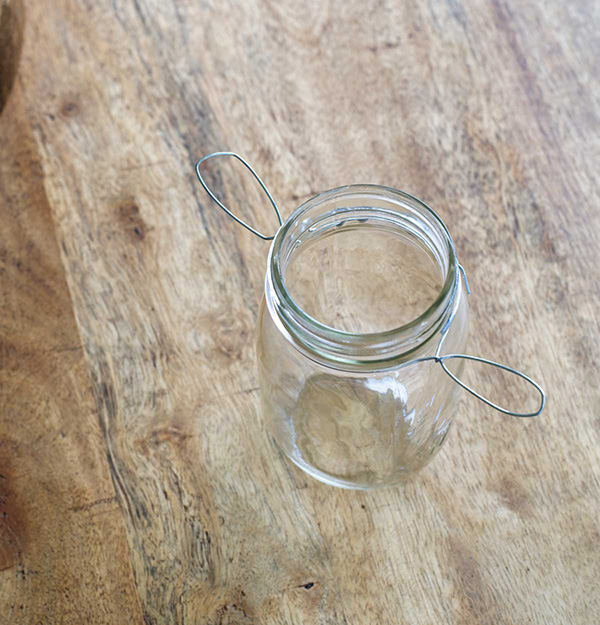
Step 4: Twist each of the loops a couple of times as shown in the photo.
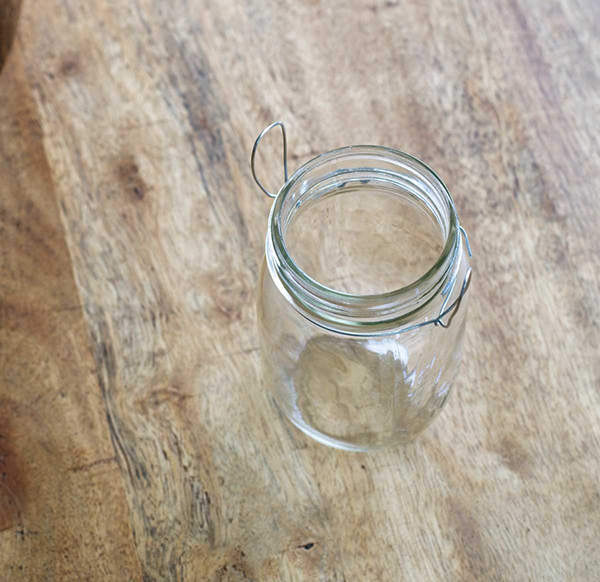
Step 5: Pull the loops straight up.
Step 6: Cut another piece of the galvanized hobby wire at your preferred length.
This is the piece that will hold the lantern.
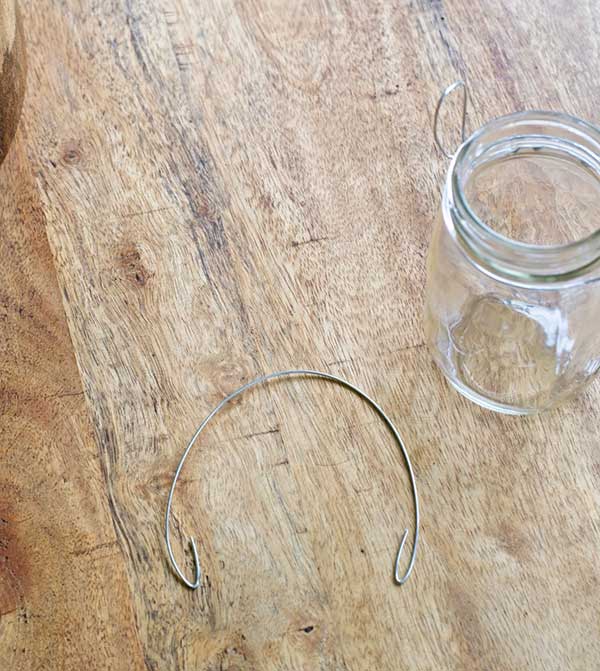
Step 7: Bend each end to form little hooks.

Step 8: Fasten the hooks to the loops to make a handle.
Voila! Your pretty lanterns are ready to hang and enjoy!
INSTANTLY ADDS MAGIC TO YOUR
BACKYARD, DAY OR NIGHT!
I hope you enjoyed making your magical Mason jar lanterns as much as I did! If you’re looking to tackle more DIY projects, make sure to check out these posts.
Thank you so much for following my blog and for letting me help you create your own lived-in, loved-in spaces!