I first posted about this project on my Fuzzybutt Farm Instagram on Thursday, August 8th. Theoretically, I should have finished it that weekend. Uh, no. I didn’t put it back together until Wednesday, September 18th.
I originally planned to spray paint everything but it was SO. DANG. HUMID. down here for literally the entire month of August (paint wouldn’t dry) so I decided to hand-paint every part except the “X” brace and the foot rail. I set up shop in our living room (paint tarps, brushes, and paint cans littered that room for a good two weeks) and got to work.
And good lord, it was a LOT of work because each piece (11 pieces in all) required at least 5 coats of paint. But let me tell you, it was TOTALLY worth all that hard work, paint, and cussing because I absolutely love how it turned out.
So come check out how I did the makeover for under $50!
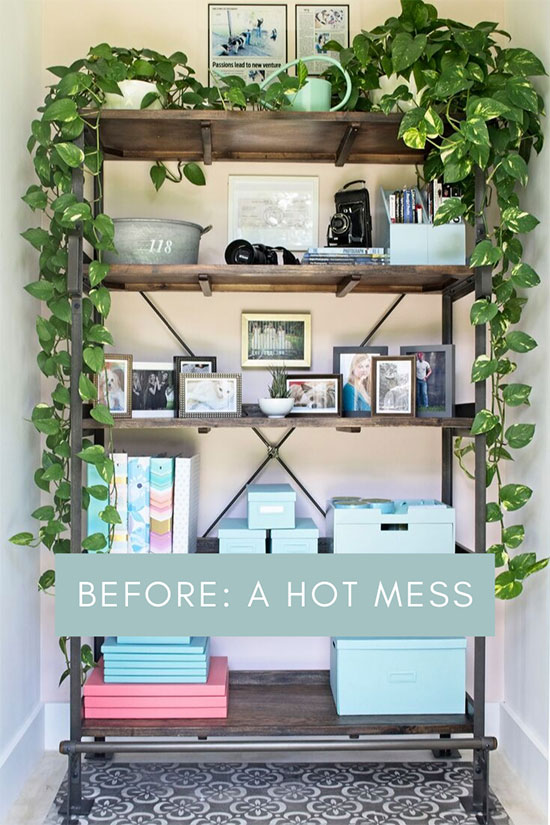
THE “BEFORE”: A TYPICAL HOT MESS
I’ve been a professional photographer since 2015, and currently specialize in pet & human fine art portraits. I am also a graphic/web designer, and after many years of dreaming about it, I recently started my interior styling business, Sanctuary.
I’m a creative person by nature and my mind and body crave fuel in the form of creativity in order to keep them in their best health. But in order to maintain that optimal health, I also need things in my surroundings to be well-organized so my cluttered brain doesn’t just get up and “Bye, Felicia” me.
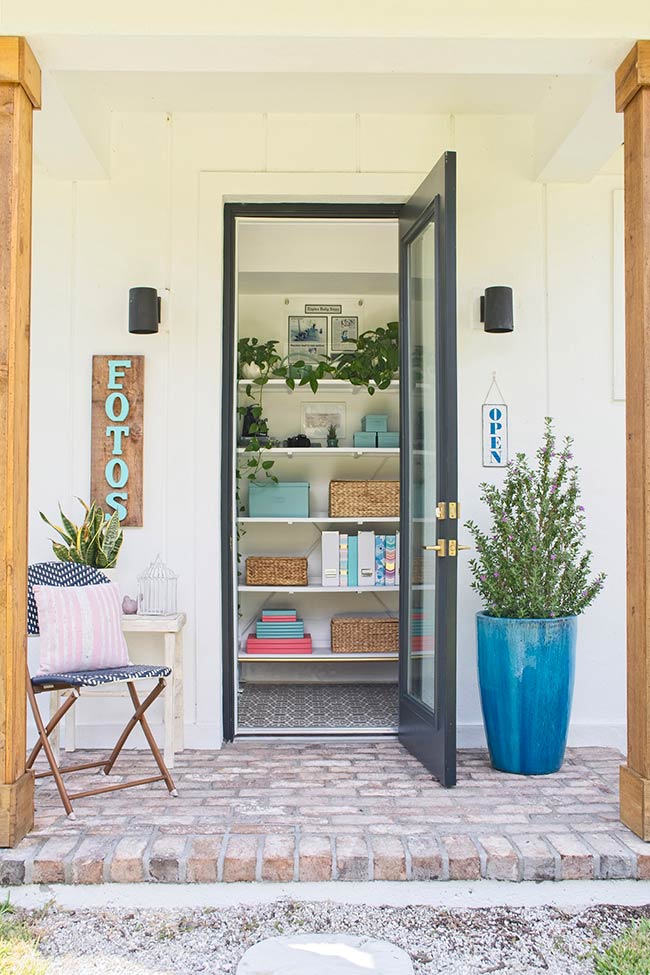
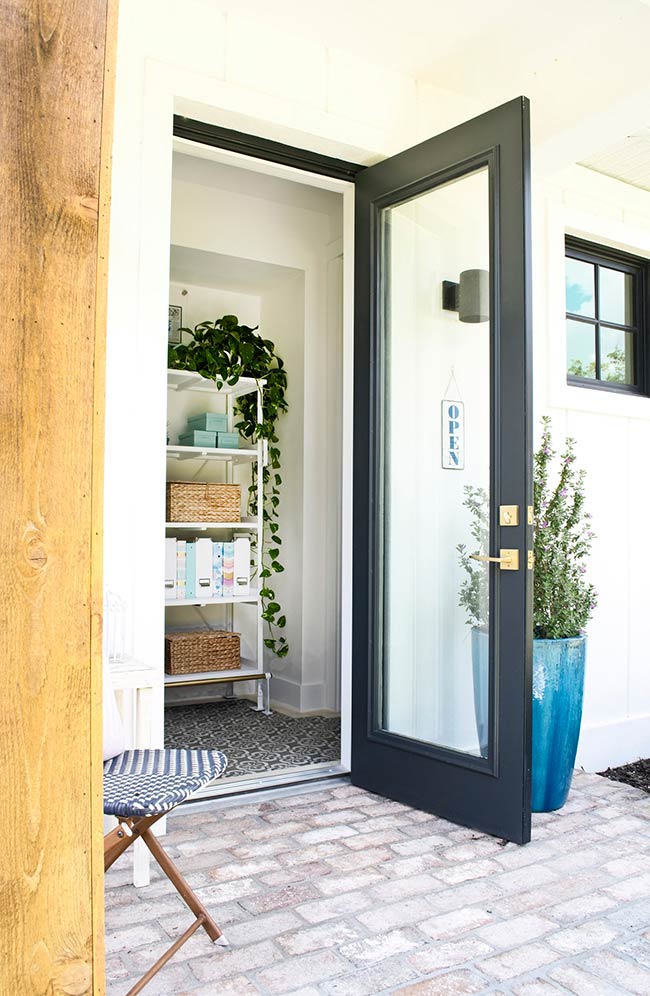
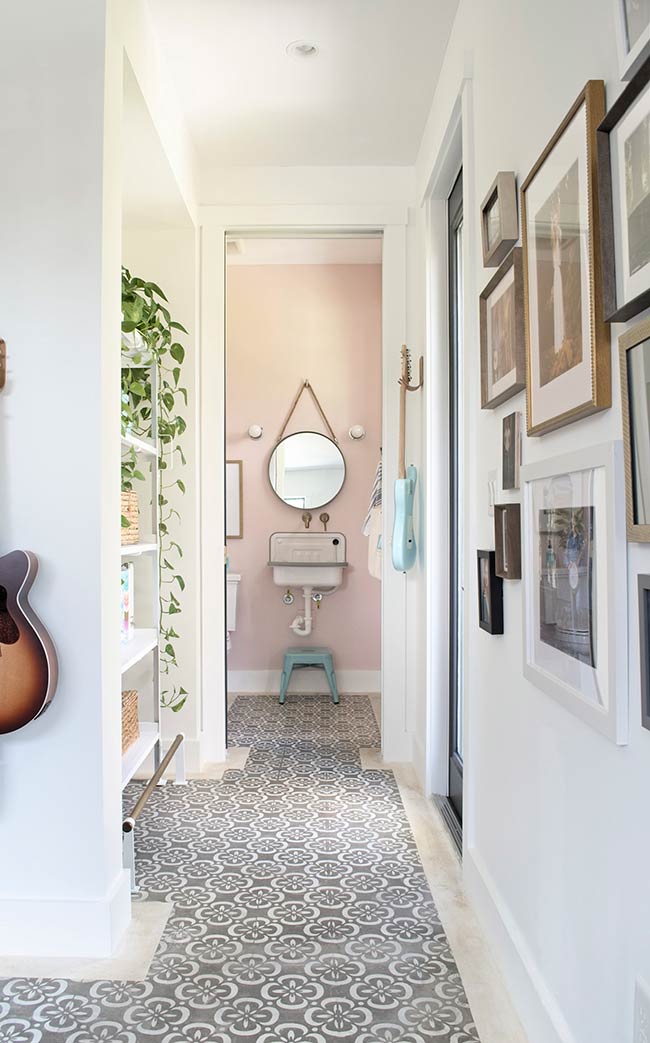
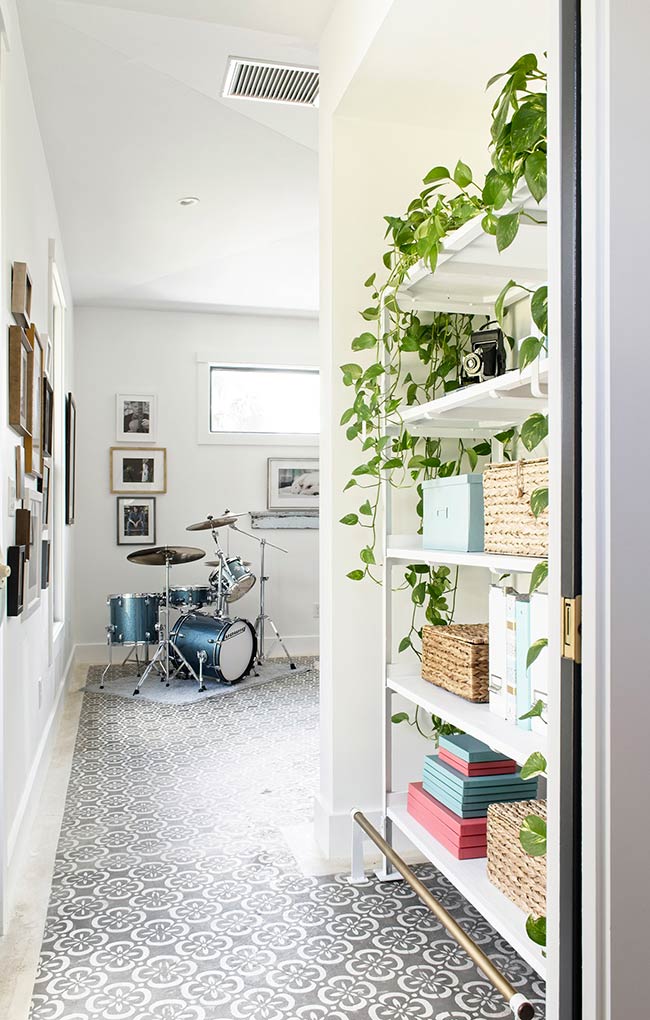
My creative studio is attached to the back of our garage and has its own entrance for my clients to use. While small, my studio has served me well the past year and a half since moving into our new farmhouse.
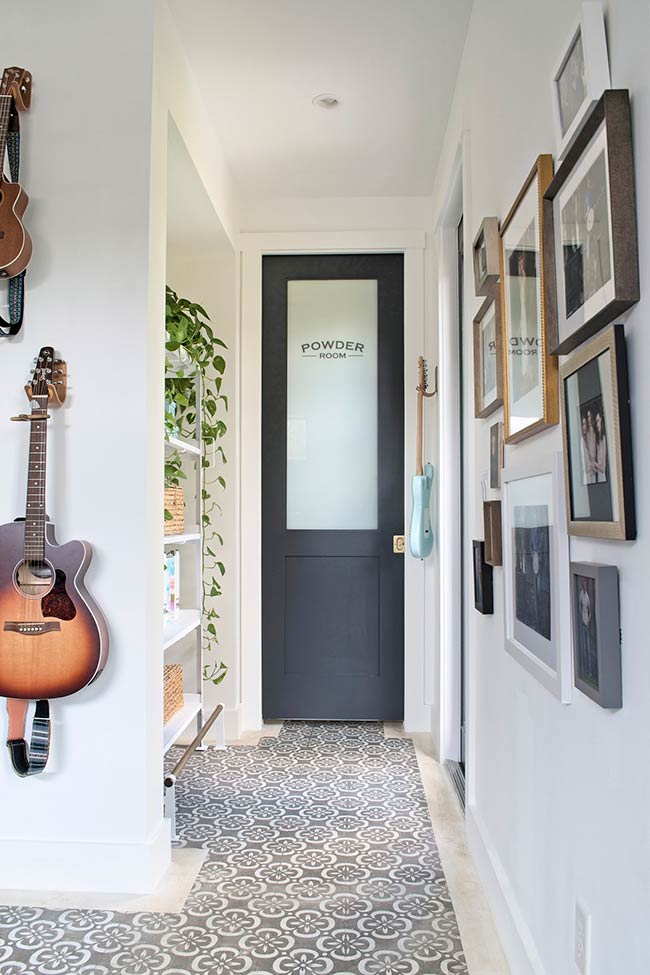
I’m also a musician and bought a small drum kit a few months ago and stuck it in my studio. But after doing so, I noticed I didn’t want to spend as much time in my studio whereas before, I could easily lock myself in there for hours a time. This space had become cluttered and I realized my brain just didn’t want any part of it so something needed to change.
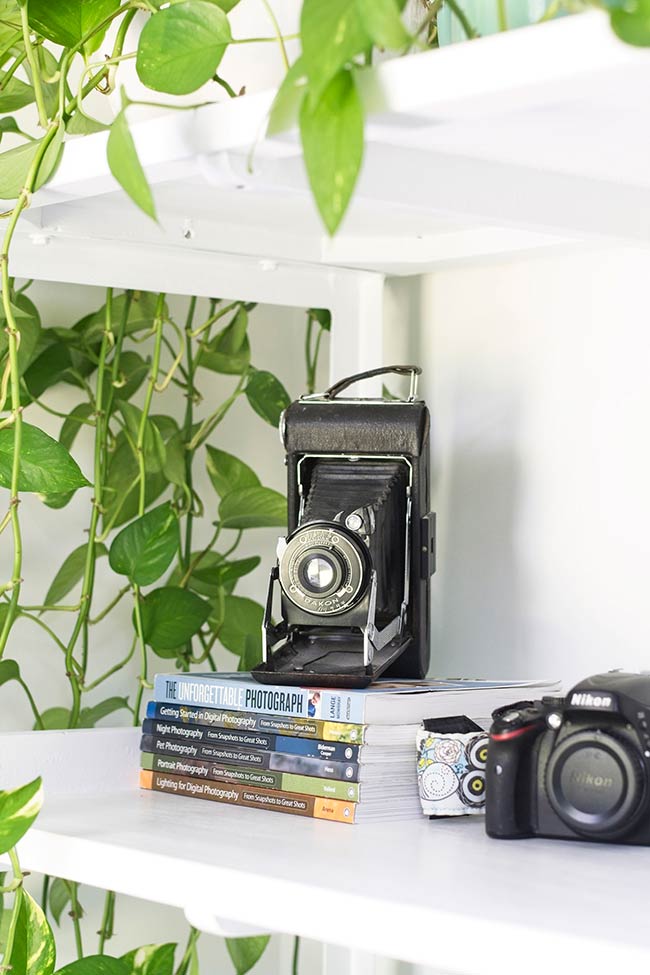
I also realized this shelving unit was one of the major culprits and I’m sure you can see why. There is just WAY too much crap on it and it’s the first thing clients see when they walk into my studio *GASP*.
THE CHALLENGES & COMING UP WITH A PLAN
I bought the shelving unit from World Market in 2014 and used it in my office in our previous home. While I absolutely love the shelving unit, I didn’t love it in this new space. It felt so dark, heavy, and bulky and I wanted something that was light, airy, and barely noticeable.
I thought about selling it and using that money to install some base cabinets giving me much-needed storage. While I loved the idea of the cabinets, I didn’t really love thinking about all the work involved so I thought I’d start with an easier plan first: giving my shelving unit a makeover.
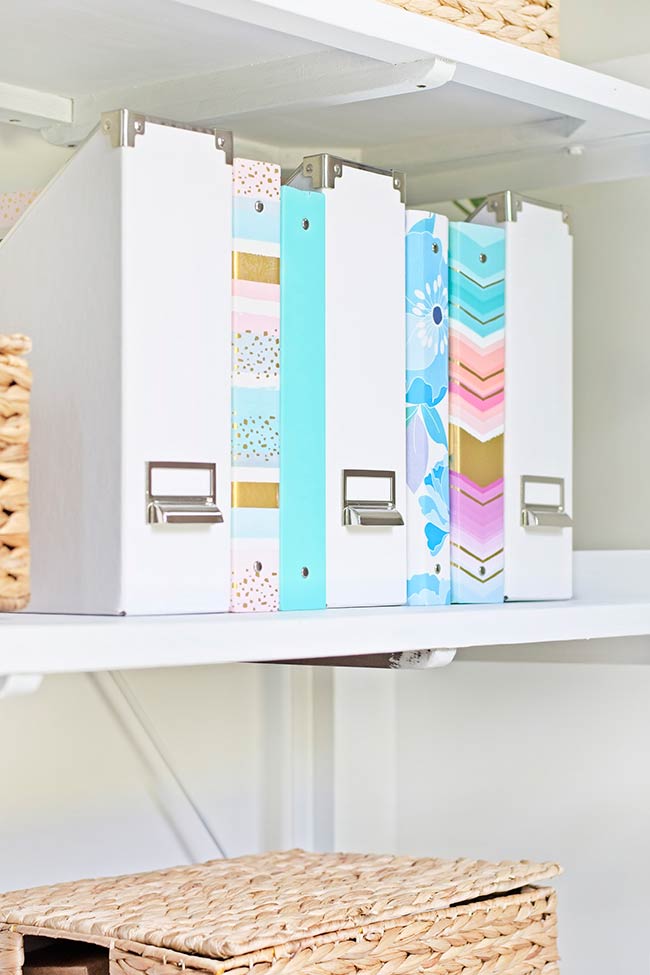
I don’t have any closet storage in my studio so I resorted to coming up with creative ways to store all of my businesses’ supplies out in the open. One solution was buying this Target cubby organizer and covering the front with pretty fabric to hide the office supplies behind it. I also attached some caster wheels to the bottom so I could easily move it around whenever I had photoshoots in my studio.
But once the drum set moved in, the space became overcrowded and I knew that in addition to the shelving makeover, the cubby had to go so I gave it to a friend.
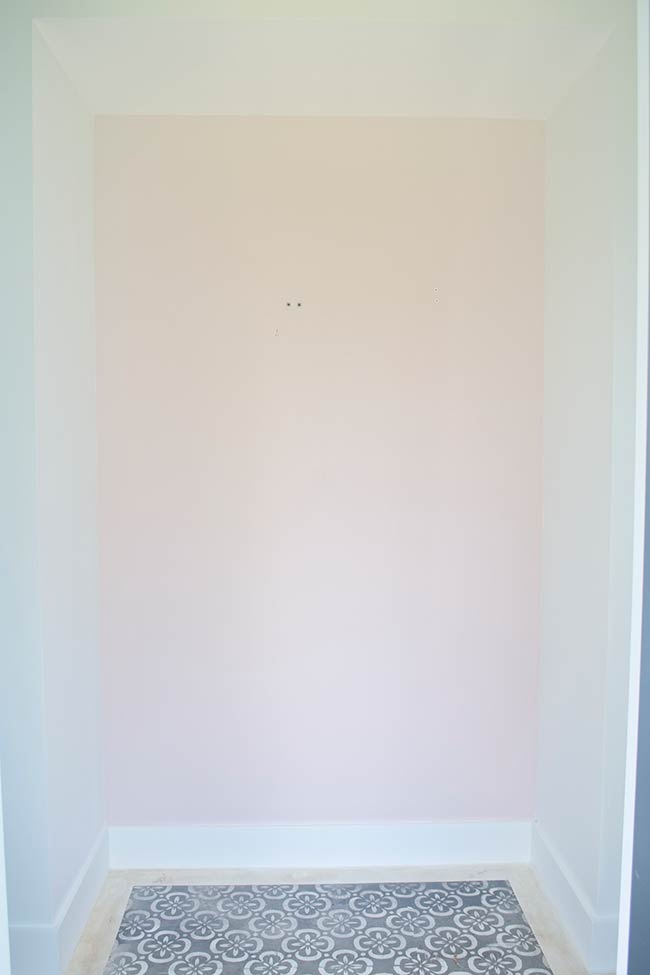
STEP 1: GET RID OF THE PINK ACCENT WALL
Since I wanted this little space (which is directly across from the clients’ entrance) to feel light, bright, and airy, I wanted the pink wall to go away so it wouldn’t be a focal wall any longer.
BEFORE:
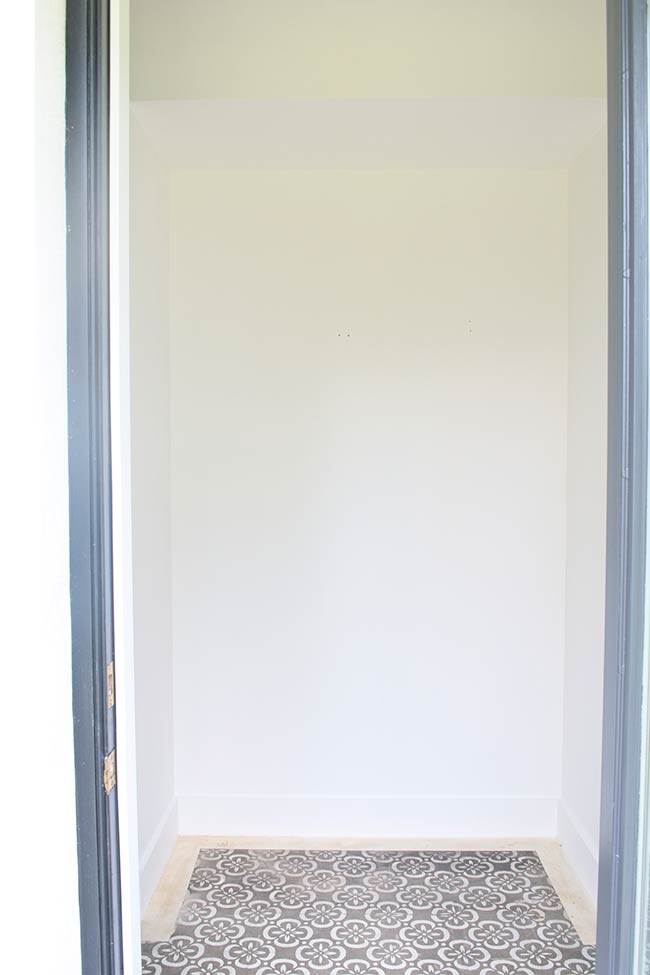
AFTER: POOF! The magic of paint.
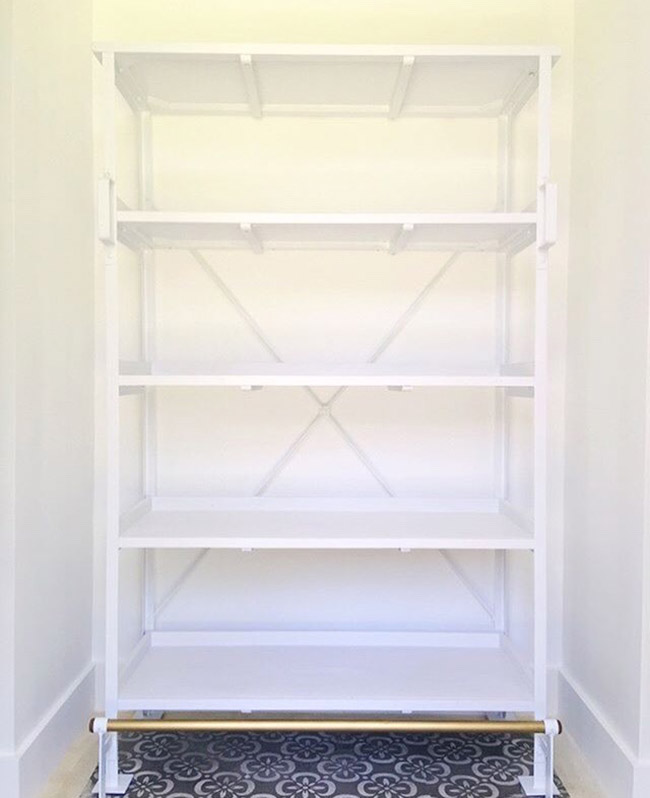
STEP 2: PAINT THE SHELVING UNIT
I had to resort to hand-painting this beast, and while it wasn’t the easiest method, it was actually more cost-effective versus using spray paint. I used less than 2 tiny cans of this Rust-Oleum white paint, each costing only $4 and a paintbrush was around $3. The shelving would have taken A LOT of spray paint easily costing me well over $40. So hand-painting ended up being a blessing in disguise for my wallet.
I only painted the undersides of the top three shelves since the undersides of the two bottom shelves can’t be seen unless you’re practically lying down on the floor.
I used this Rust-Oleum spray paint to add my signature gold touch to the foot rail, costing me $7. Don’t let the “Satin Bronze” color name fool you – it’s really like an antiqued gold color.
It’s like a totally new shelving unit now and it only cost $18 to give it a facelift. BA-BOOM!
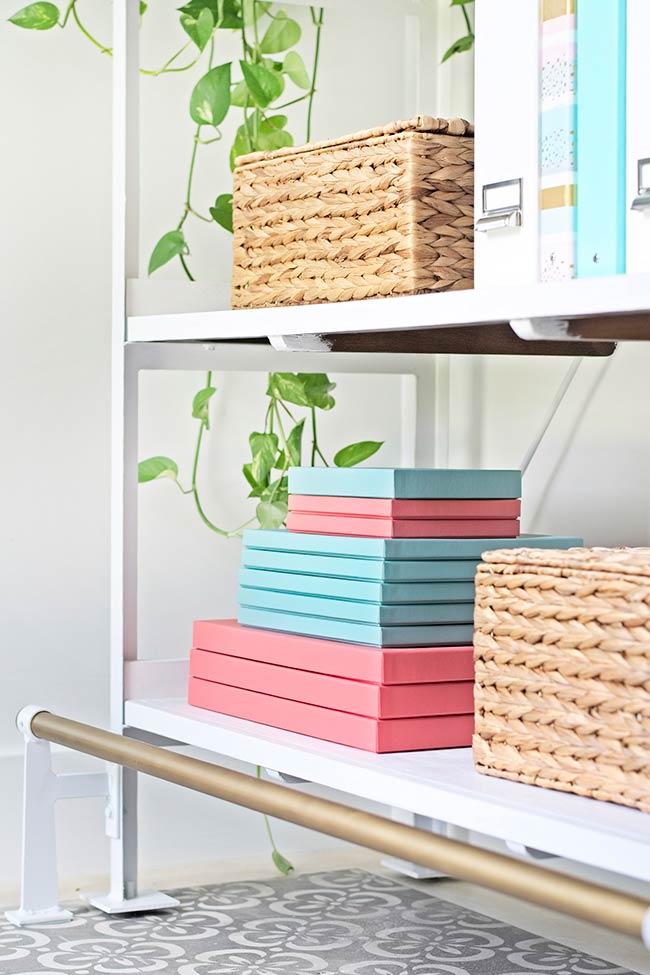
STEP 3: ADDING MORE CUTE STORAGE
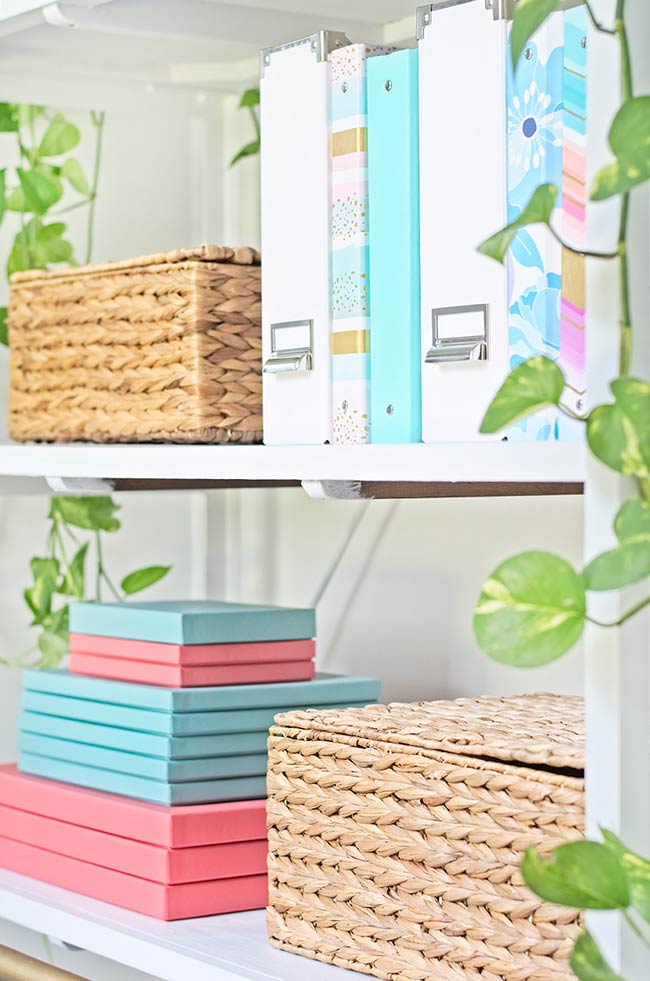
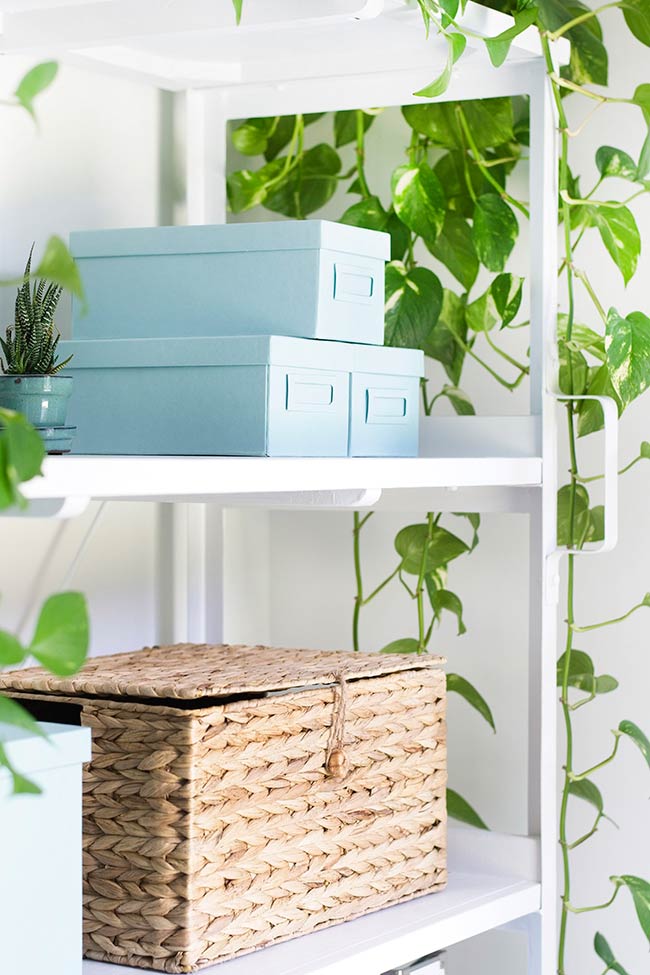
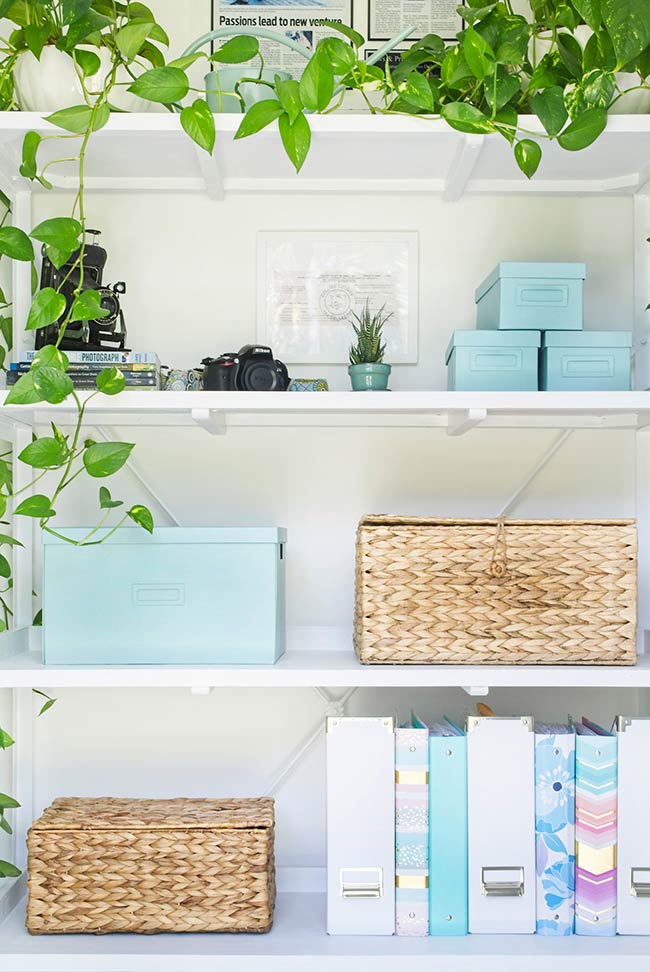
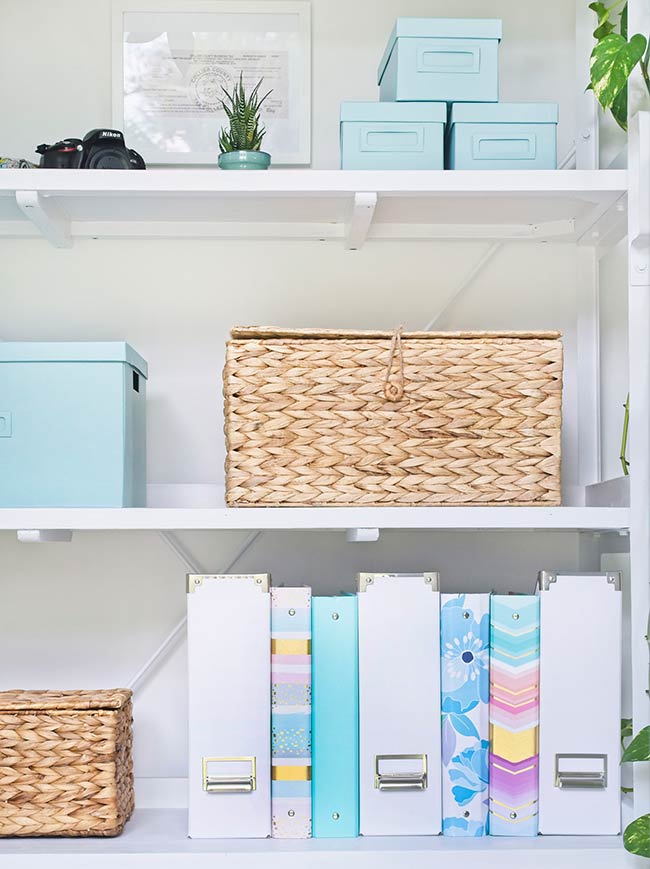
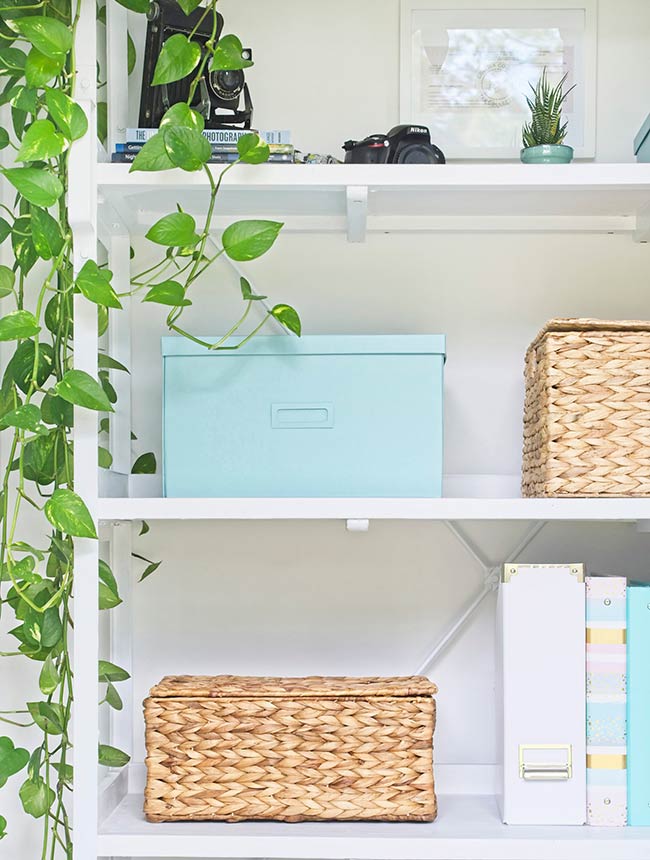
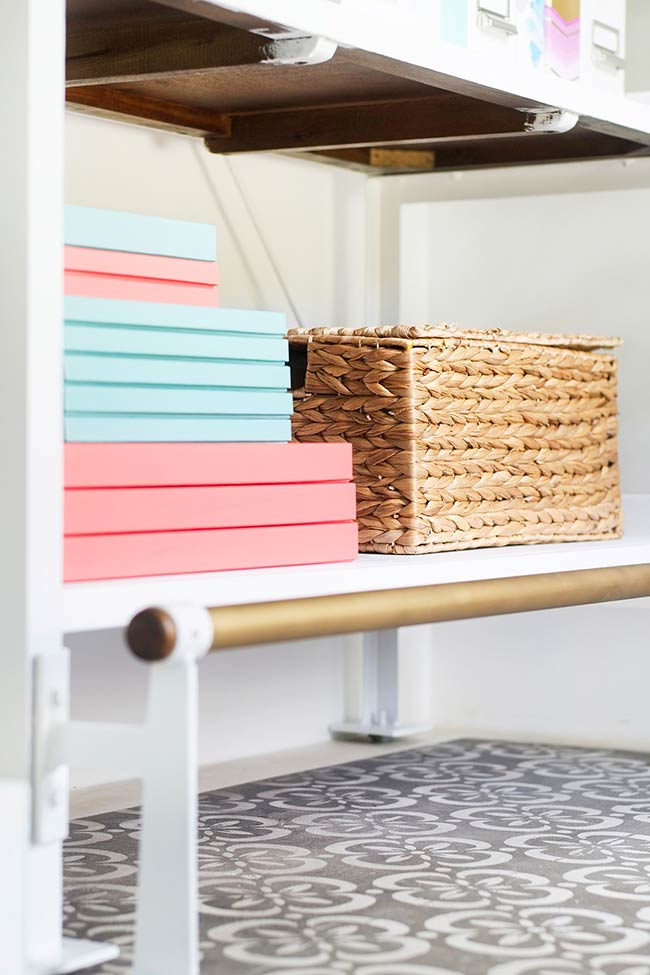
I wanted to add a natural element to the mix and thought seagrass baskets would be the perfect touch. However, I needed them to have lids because I didn’t want to see the stuff inside. I also didn’t want to spend a ton so I started my basket hunt at my fave decor sources first: Marshall’s & TJ Maxx.
I found 3 baskets with lids (I had to go to 3 different stores to find them) ranging in 3 different sizes.
The small cost $8, medium was $10, and the large was $13 for a total tally of $31.
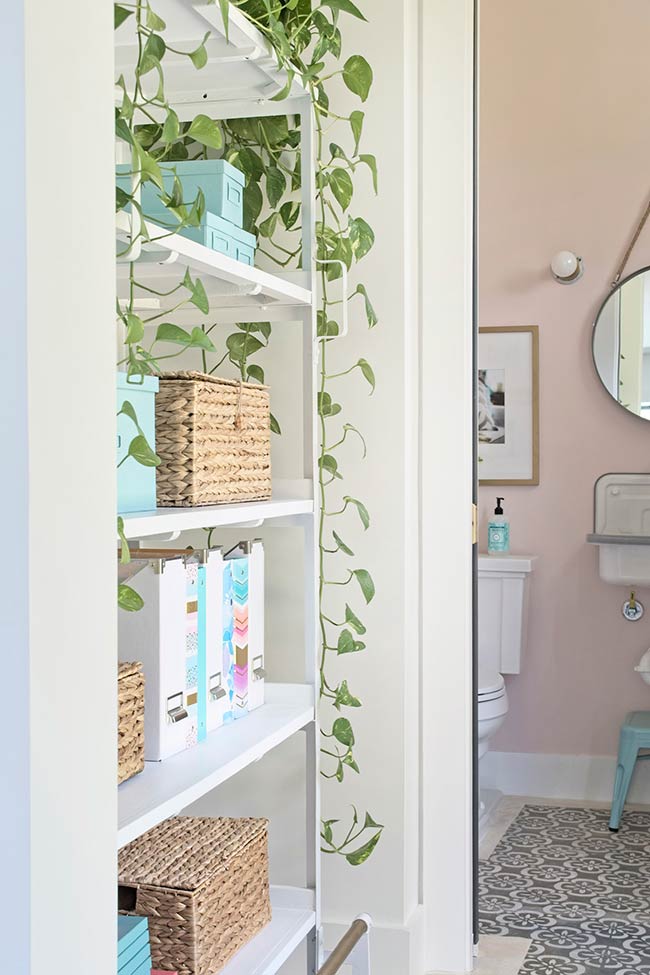
THE FINAL REVEAL
Ok, so here is what it looks like all dressed up and pretty! I didn’t add anything new other than the 3 seagrass baskets, saving even more money. I also had the white paint for the wall left over from the original build.
So what did I spend my money on for this easy makeover?
• White paint = $8
• Paint brush = $3
• Gold spray paint = $7
• Baskets = $31
PROJECT TOTAL: $49
I achieved the light, bright & airy feel I craved and now, I find myself frequently walking by it without noticing it which was my main “there but not there” goal.
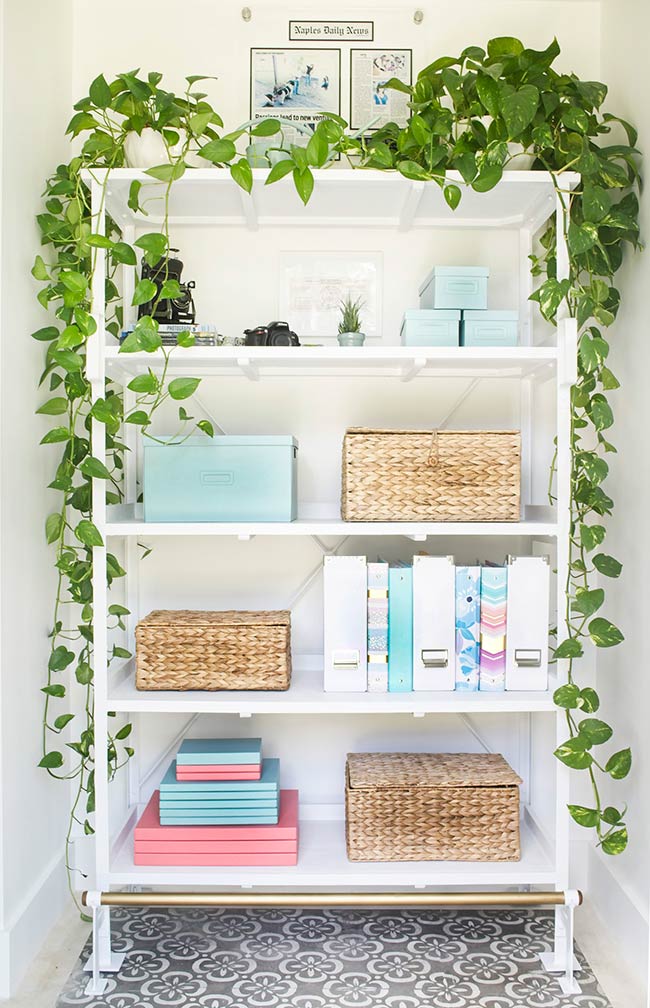
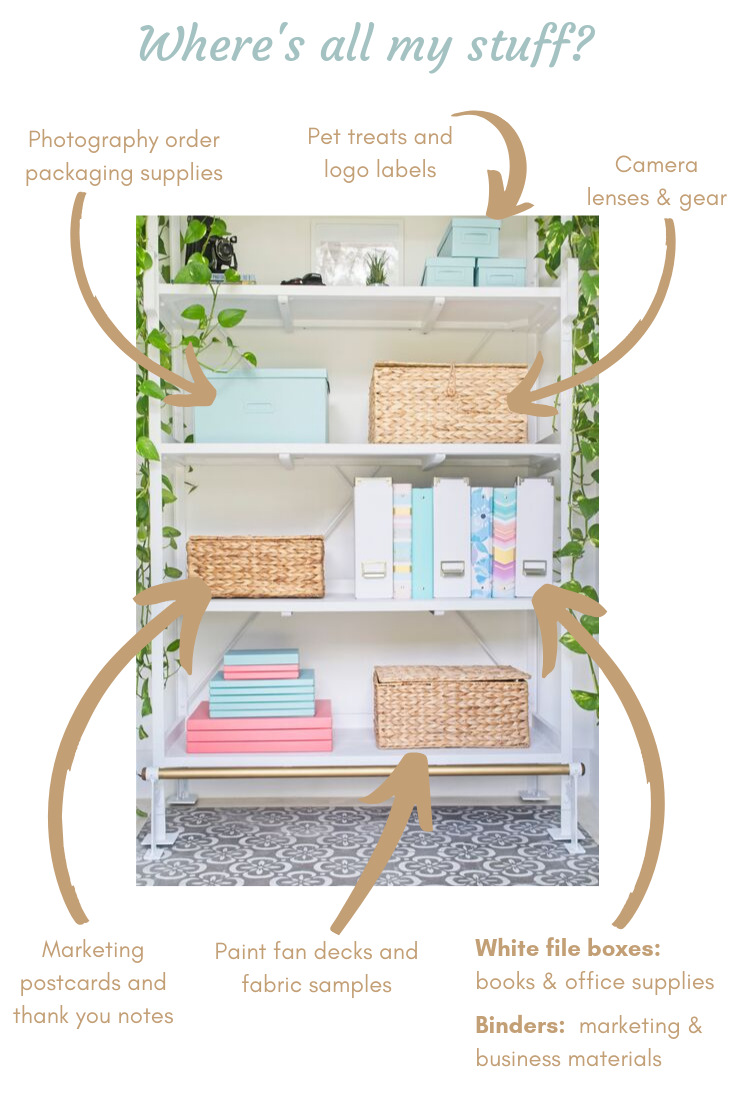
And not only does it look so pretty and inviting now, but every item on the shelves also serves a storage purpose making it uber-organized.
AND MORE PROJECT PHOTOS …


I hope you enjoyed this post and that you stick around for future Before & After posts.
I also hope that this post gives you the confidence and inspiration to repurpose something you already own instead of buying something new (especially if you love the piece and it just needs a quick makeover). Not only is it better for our planet by not creating additional waste, but it’s also quite rewarding to see your hard work come to fruition!
Thank you so much for following my blog and for letting me help you create your own lived-in, loved-in spaces!