So, did you guess correctly about which color scheme Laura chose from my presentation?
If you’re like, “Michelle, what in THE HELL are you talking about right now?”, make sure to read the “Before” story and get all caught up.
Like I mentioned in the previous post, that little stinker kept her decision secret because she wanted to surprise me but I couldn’t take the suspense anymore!!
Laura finally gave me a sneak peek because she and her husband were making the batten shutters themselves (I included 4 different shutter design options in this presentation) and they had some questions about building them.
The builder did something weird with the stucco bands around the front right window so the window didn’t line up with the stucco bands very well. You can see what I’m talking about in Laura’s sneak peek of their first attempt at making the shutters, which I thought was a great start!
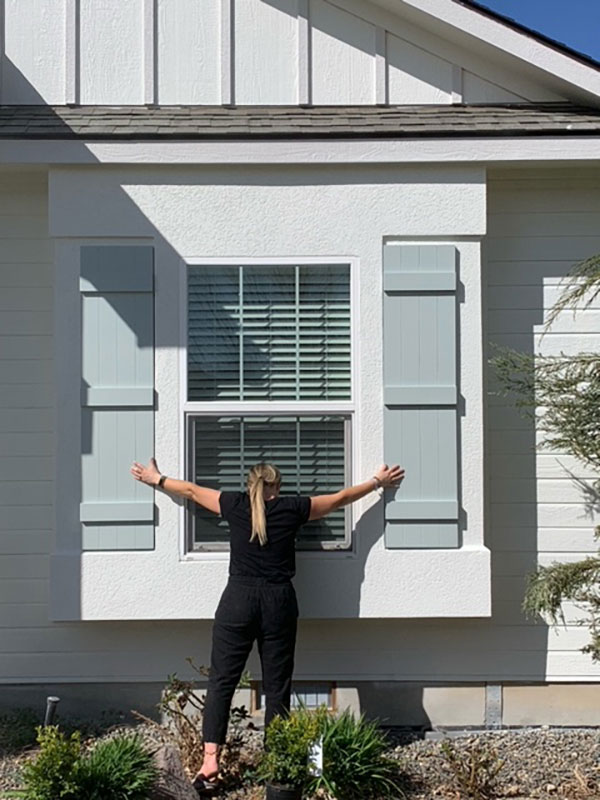
I told her the shutters definitely should fit the entire niche areas and also gave her another option for the piece of cedar at the top:
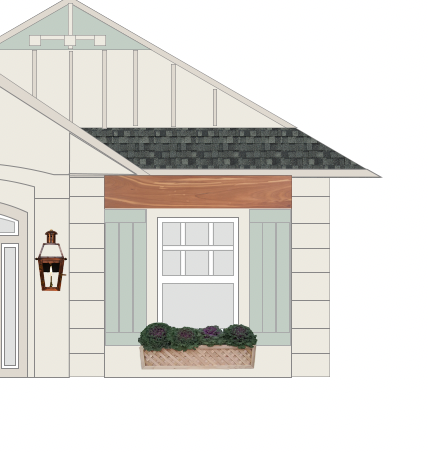
Original Rendering 
Alternative Option
Unfortunately, they couldn’t make the cedar work but I think the end result turned out just as well. Didn’t Laura and her husband do a beautiful job with the shutters? I’m so proud of them!
Since the area under the window is really wide, a flower box that fits that space perfectly needs to be custom-made.
I found an Etsy seller that makes custom flower boxes but he was months behind on orders and Laura was super excited to get a flower box up there and I don’t blame her – those cascading flowers are so charming! And she has plenty of room to add a second flower box in the future.

THE GARAGE DOORS
In the presentation, I proposed the garage doors be faux-painted to look like wood. Since they were perfectly good doors and only a few years old, there was no reason to change them out when I knew paint could easily – and dramatically – make them look like brand new wood doors at a significantly lower cost.
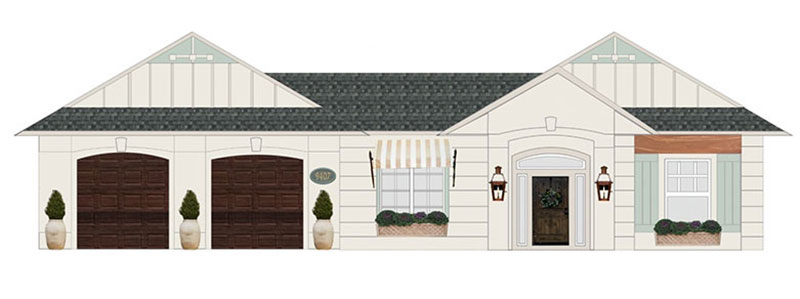
The Hubs and I had this done years ago on an older home we owned and people walking by would comment on how they loved our wood garage doors. They were floored when we told them it was just paint! The KEY is hiring a faux-paint expert for this specialized technique.
Laura’s house painter was attempting to faux-paint the garage doors to look like wood and was doing a poor job. Unfortunately, I didn’t realize he was trying to do this until Laura sent me play-by-play messages.
I told Laura to have him stop immediately and I found her a local painter in Boise that specializes in faux paint treatments, Tim Gates of Tim Gates Decorative Finishes.
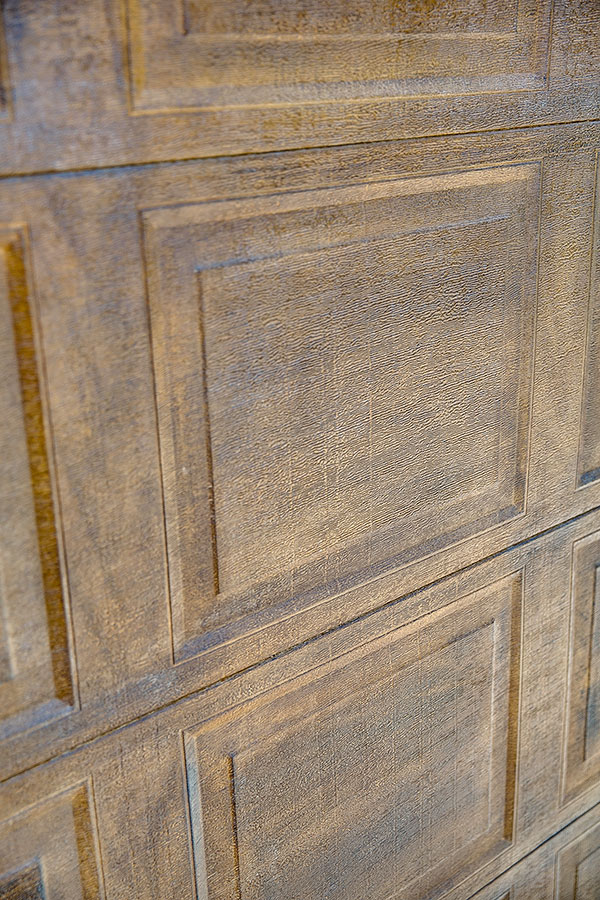
Faux Paint: Tim Gates Decorative Finishes
I mean, look at the GORGEOUS job Tim did in the photo above! Would you think this was done with paint? I sure wouldn’t! WOW.
Laura and her family can now enjoy the benefit of having beautiful “new” doors at a fraction of the cost!
NEW LANTERNS
You might recall that Laura wanted more lighting near their front entry so I included 2 new copper lanterns in the presentation:
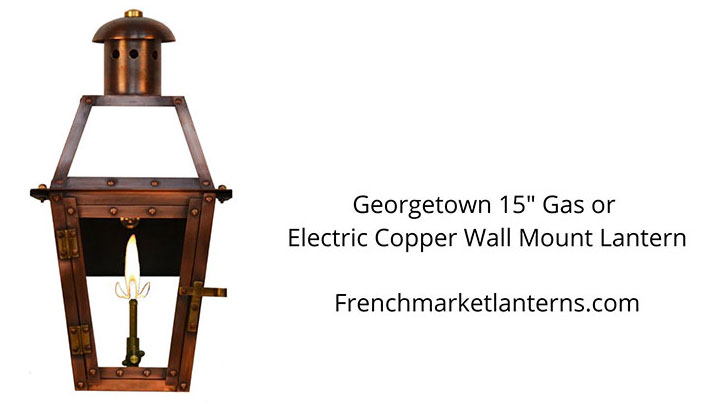
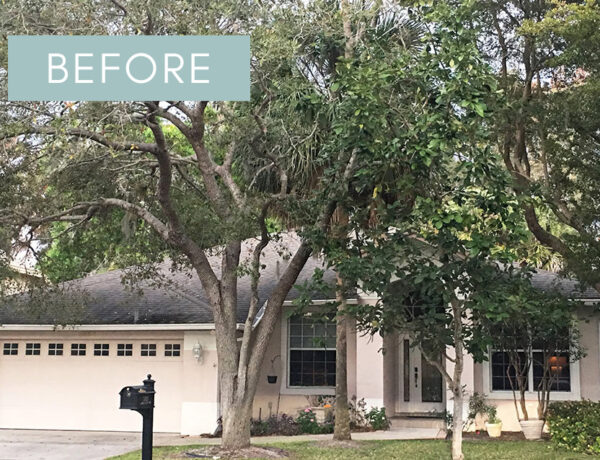
Laura told me that after having all of the painting done, they didn’t have enough room in their budget to have an electrician run new wiring for the lanterns (you can see there wasn’t any lighting there previously in the Before pic below).
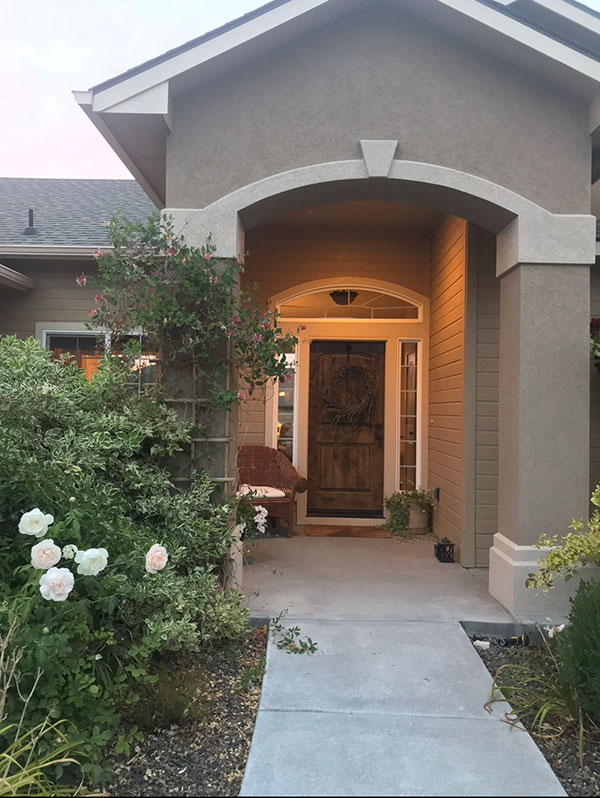
So she emailed me her idea for the next best thing: solar lanterns from Home Depot and some copper spray paint which I thought was a fantastic solution!
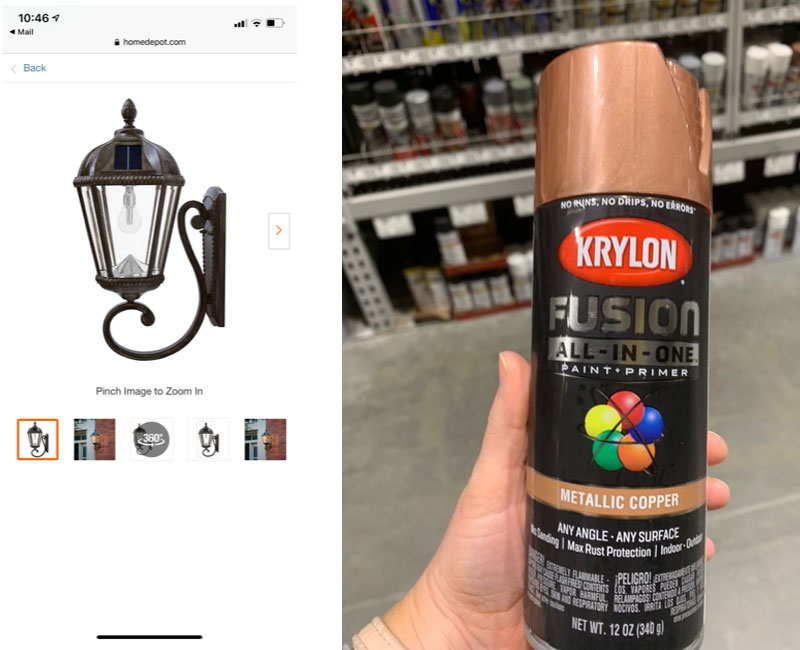
The one suggestion I gave her was that in addition to using the copper spray paint, she could finish it off with this Modern Masters Green Patina Metal Effects Kit to give the lanterns instant patina, making them look old and worn-in.
Even though they’re not the lanterns in the original plan, I think Laura’s Plan B looks beautiful and the lanterns add so much character. Well done!

THE MOMENT YOU’VE BEEN WAITING FOR!
Alright, moving on to why you’re probably here in the first place: THE FINAL REVEAL.
And heeeeeere you go. WHEEEEEE!!
Photography by the amazing Annie Garner of Boise Home Photography.
Drop a comment below and let me know which part of Laura’s “new” house is YOUR fave.
Mine is a tie between the shutters and the striped awning. LOVE. LOVE. LOVE!

If you enjoyed reading this article, make sure to sign up for the weekly newsletter below so you never miss a post.
Thank you so much for following my blog and allowing me to inspire you to create your own lived-in, loved-in spaces!


