Alright, so heeeerrre weeee goooooo with Part 3 of my powder bath mini-makeover project. You ready? Hang on to your hat! Wheeeee!
Now, I easily could have done this all in one quick blog post with Before and After photos but I feel it’s more helpful to take you through the process of how I got from Before to After without pulling ALL of the hairs outta my little dang head.
Pssst: Make sure to read Part 1 and Part 2 so you know what’s been going on in here since February 2020. Yup, it’s taken me THIS long to finally figure out what the hell to do with a tiny 5×5 space. Good grief.
You may recall I gave up on my peel-and-stick wallpapering attempt a few months ago and left that stuff literally hanging off the walls for 4 months.
Now, to be clear, I haven’t sworn off ever using wallpaper in any future projects. However, I’m not a sadomasochist by nature so I’m going to pay a professional to hang that vinyl nightmare next time.
For Plan C, I decided to go with one of my strengths – painting. I LOVE painting. I love choosing paint colors and sheens, I love looking at zillions of paint chips, I love the process of seeing immediate results in a space, I just love it all. I’m totally nerding out on paint right now. Lordy Lou, I need a vacation.
WHEN YOU CAN’T WALLPAPER FOR SHIT … PAINT.
I’m SUPER excited to show you my inspiration for Plan C. There I go nerding out over paint again. BUT I CAN’T HELP IT!!
I’ve had the images below saved in my Pinterest for a long time and was hoping to use this lime wash painting method in a project and figured why not use it in our powder bath?
The homeowner, Patrick Williams (an interior designer in London), meticulously restored his London flat that is above an old pub in a former Victorian red-light district and likes to use handcrafted items and things with patina to them. You can check out his beautiful home here.
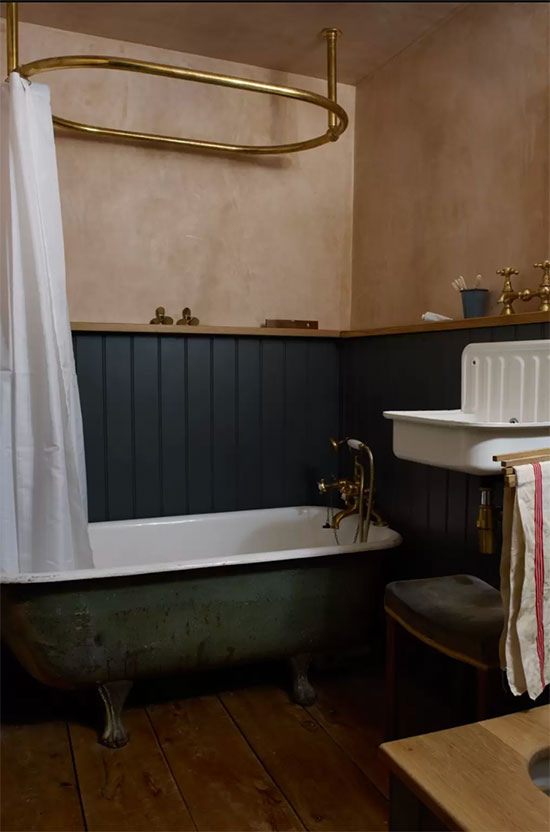
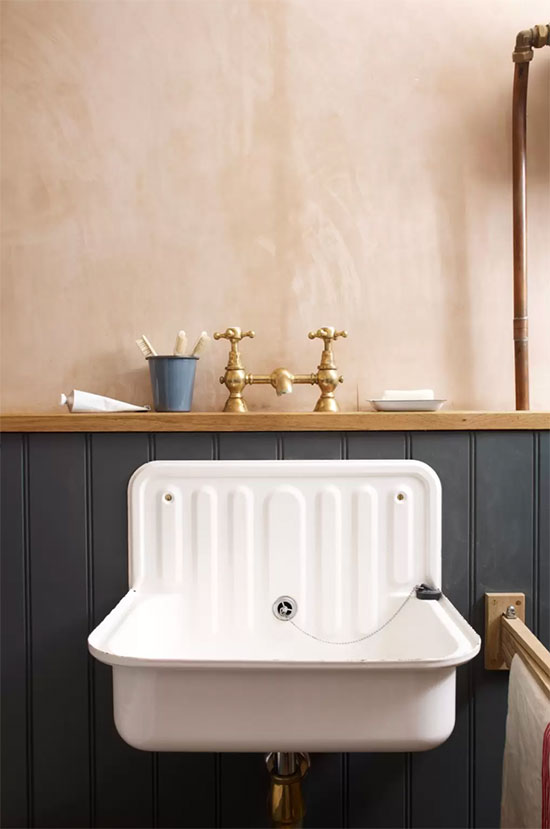
I love the whole “old-world” feeling these walls lend to the space. I find the “movement” from the lime wash to be so interesting and different and love how it adds depth and texture to what could have been a simple “meh” paint color.
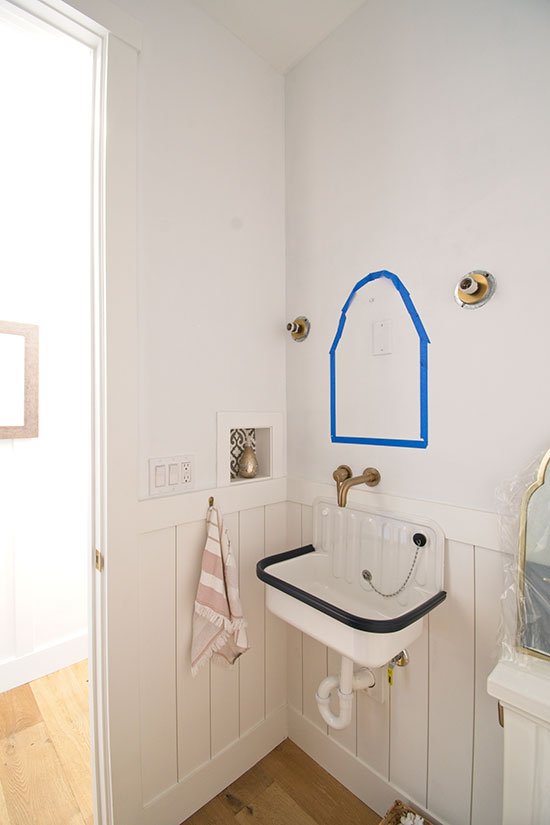
Patrick also used an enamel bucket sink that’s very similar to ours which I absolutely adore (and why we have 2 of these cuties in our farmhouse!).
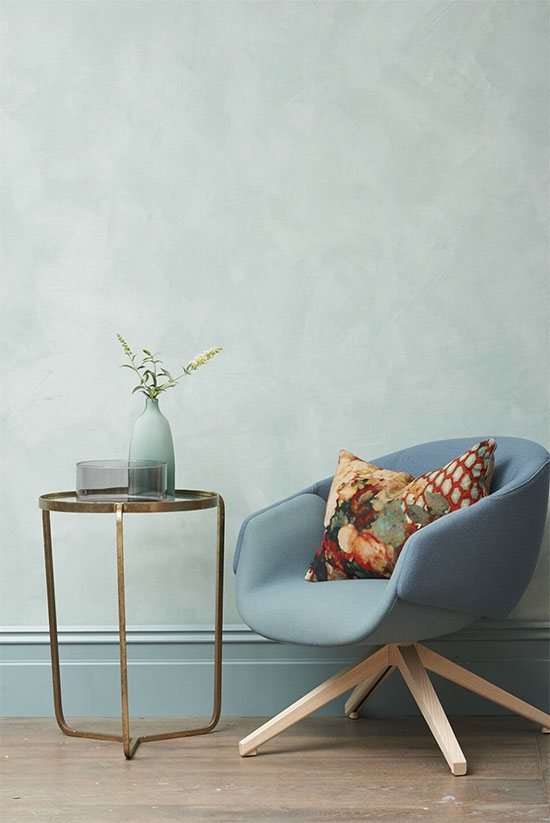
My next source of inspiration was this image from Sydney Harbour Paint Company in California. I love the soothing color of the lime wash against that beautiful solid color on the trim. So gorgeous!
I ordered a fan deck of their regular paint to get an idea of the colors and was going to use the color “Serene” for the lime wash on top and “Waterfall” for the vertical shiplap wainscoting. I gotta say, their fan deck has got to be THE most beautiful fan deck I’ve ever seen – it’s HAND-PAINTED! Absolutely beautiful!
I was prepared to go forward with the whole lime wash thing and even watched a bunch of how-to videos but then I realized it was going to cost a small fortune and just didn’t want to spend that on this little room right now especially since I wanted to get a new mirror, hand towels, and artwork.
But I figured I could save some dough and mimic the lime wash look with some other painting technique and came across this brilliant YouTube video of a simple color wash painting technique and BOOM! Just like that, Plan C was back in action.
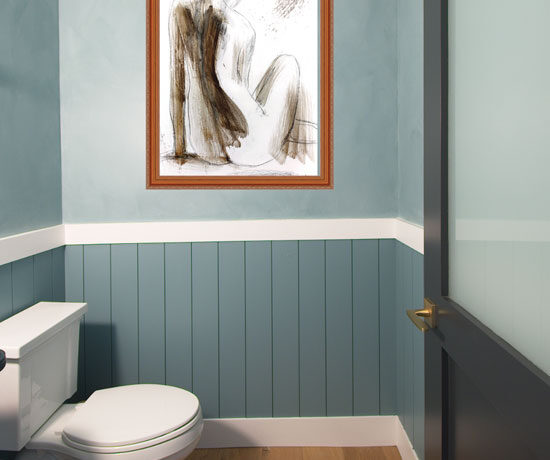
And I already knew what “regular” paint I’d use because I’m in L-O-V-E with Benjamin Moore’s Aegean Teal and have been jonesing to use it somewhere, anywhere. It’s 2021’s Color of the Year and I think you can see why – it’s STU-NNING!

I especially love how beautifully it pairs with the gold and copper accents in this room and that color combo is part of the inspiration as well since we already have brass accents (faucet, lighting, and toilet paper holder) and I’m planning on adding a copper accent too.
I decided I didn’t want to use the Aegean Teal at full strength so I went with 25% strength on top and 75% strength on the shiplap wainscoting. This is a great way to use a color you love but wished it was just a teensy bit lighter/darker.
As soon as I painted the first coat, I knew it was a winner. I can’t even explain to you just how gorgeous Aegean Teal is, no matter what strength. The photos below don’t do it justice.
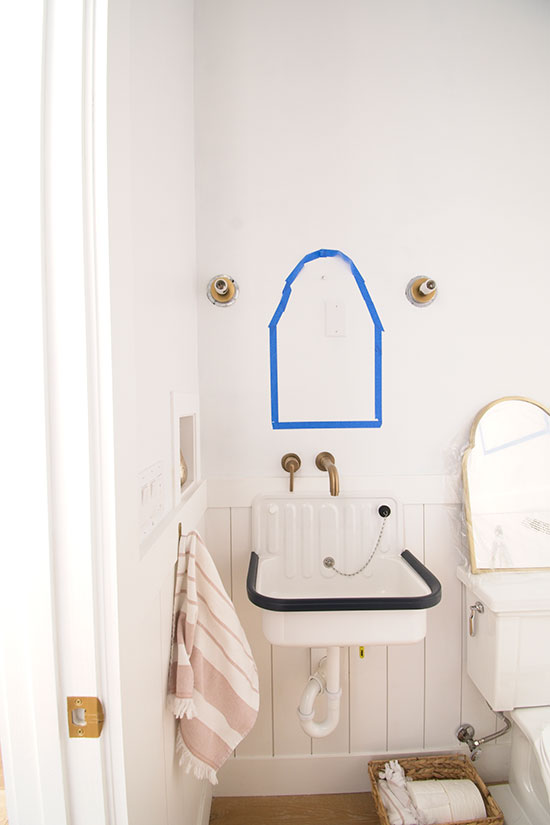
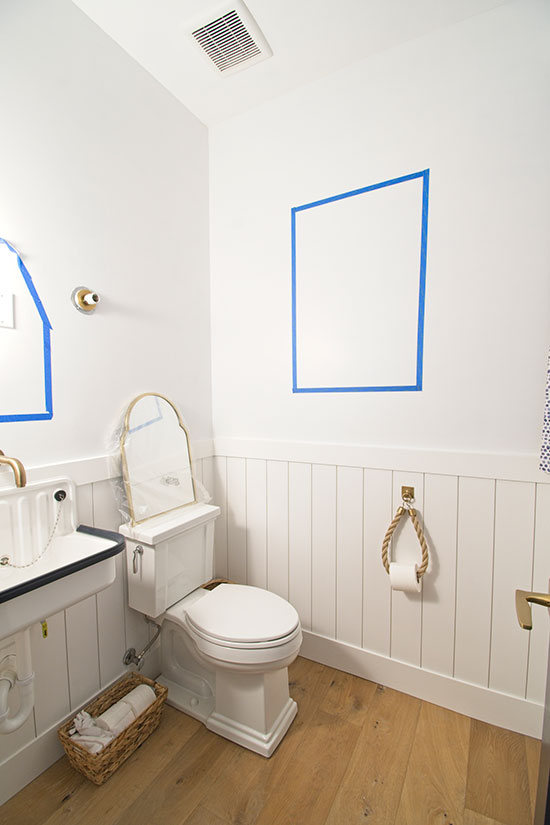
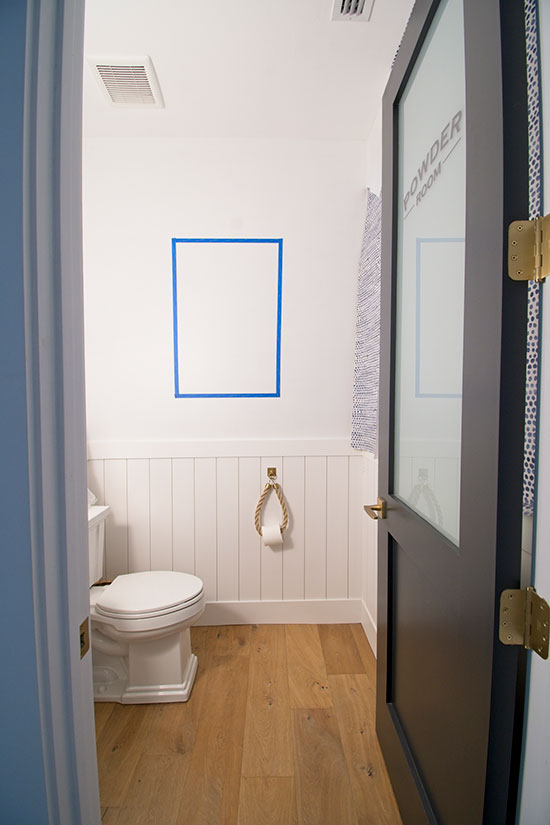
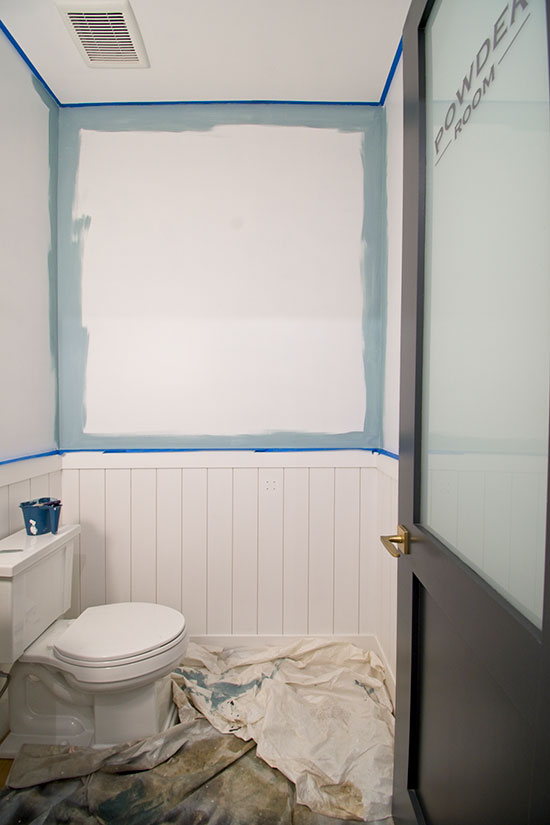
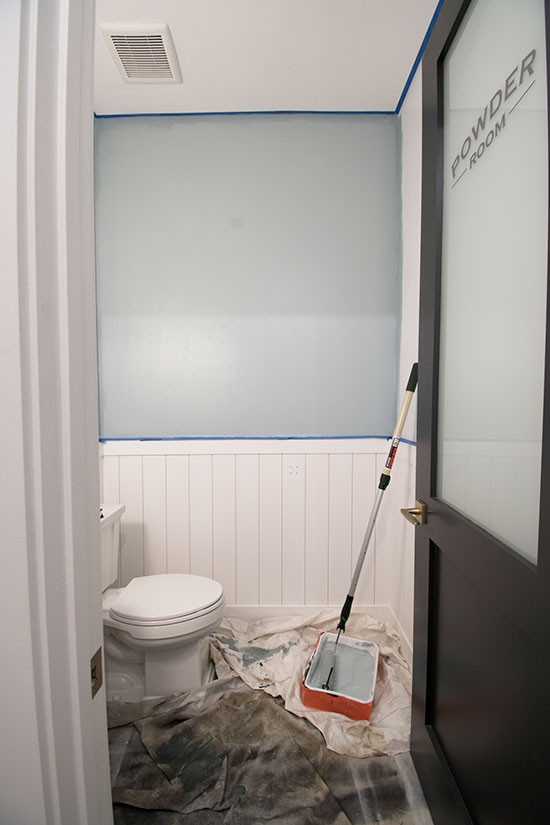
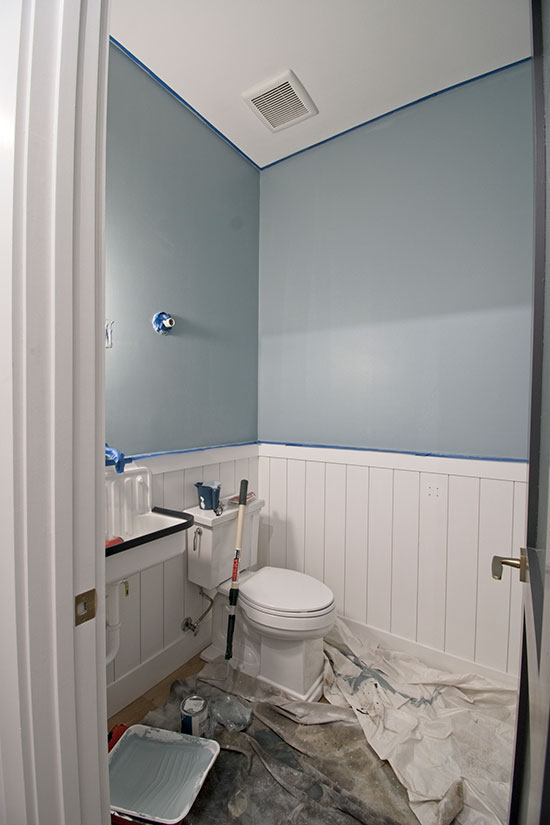
These progress photos were taken Saturday, June 5th which was Step 1 of the color wash painting process.
Stay tuned for Step 2 next week!
If you enjoyed reading this article, make sure to sign up for the weekly newsletter below so you never miss a post.
Thank you so much for following my blog and allowing me to inspire you to create your own lived-in, loved-in spaces!