HEY – STOP RIGHT THERE! If you haven’t been following along with this series, get all caught up with Part 1 and Part 2 first so you know exactly what’s going on or it won’t make much sense.
So this post is way overdue. Like WAAAAYYY-HEY-HEYYYYYYY overdue. An embarrassing length of time, really.
My clients’ project was moving along at a nice pace back in early March and then Covid-19 rolled into town and life as we knew it came to a screeching halt.
We’re taking our time searching for ideal furniture and decor for this space so there’s still some progress going on behind the scenes.
But in the meantime, I’m excited to show you the big project we got wrapped up right before Covid upended everyone’s’ lives.
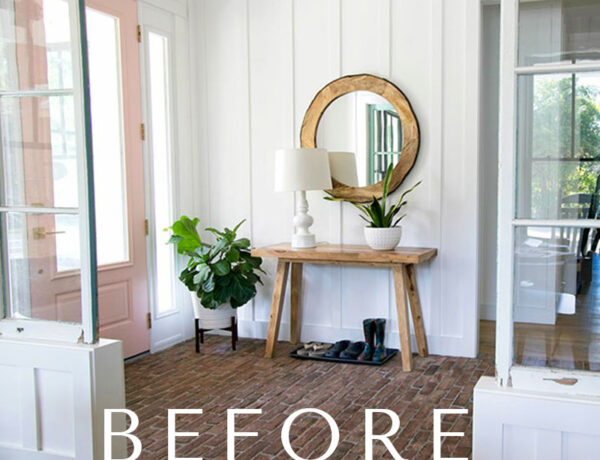
BEFORE: THE OLD DINING ROOM/
“NEW” LIVING ROOM

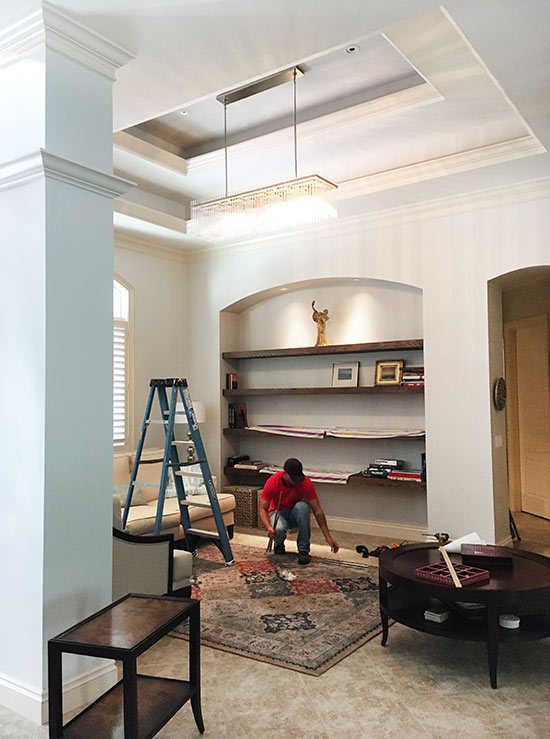
So this is where my clients’ (Ellen & her family) project all started. This was the original dining room space. It was a nice space but needed a little freshening up.
The first thing we did was paint the entire space (this room, the adjacent “new” dining room, and the foyer) with Sherwin Williams’ Egret White which checked off Ellen’s “light and airy” requirement.
We also removed the partial drapes on either side of the large window which made such a difference in making this room feel more spacious and modern.
 After! It’s amazing what a few coats of paint can do!
Then I suggested we move the living room furniture into this space and let Ellen’s family live with it for a few days to see if/how they ended up using this “new” space (they rarely used their living room in the original living room).
After the “trial period,” Ellen told me that her family used this “new” space more than they had the original living room so I suggested we swap this original dining room with the original living room to fit their current needs.
CREATING THE NEW LIBRARY SPACE
Another requirement on Ellen’s Wish List was to have a library wall because she and her family are avid readers and have tons of books they’d love to display.
This was one of the original sketches of a library wall (using IKEA’s pine IVAR cabinets and some caning) for the original living room:
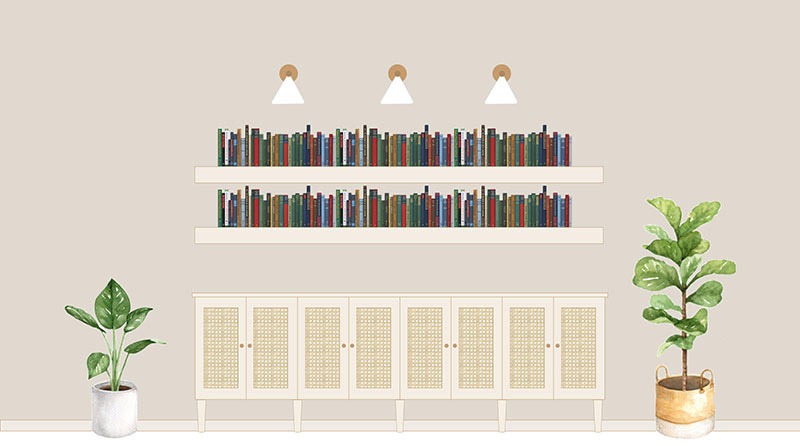
So I sketched up a (super) rough adaptation to take advantage of the recessed niche wall in the “new” living room:

Ellen loved the concept but decided to forego the cabinets for additional shelving so we added two more floating shelves instead of the floating cabinets.
The library shelving idea led to the next challenge: the super-wide wall inside this niche.
The inside of the niche is almost 9 feet wide but thankfully, has wooden wall studs (many south Florida homes have metal studs).
 The Aksel floating shelf rod from Shelfology.com
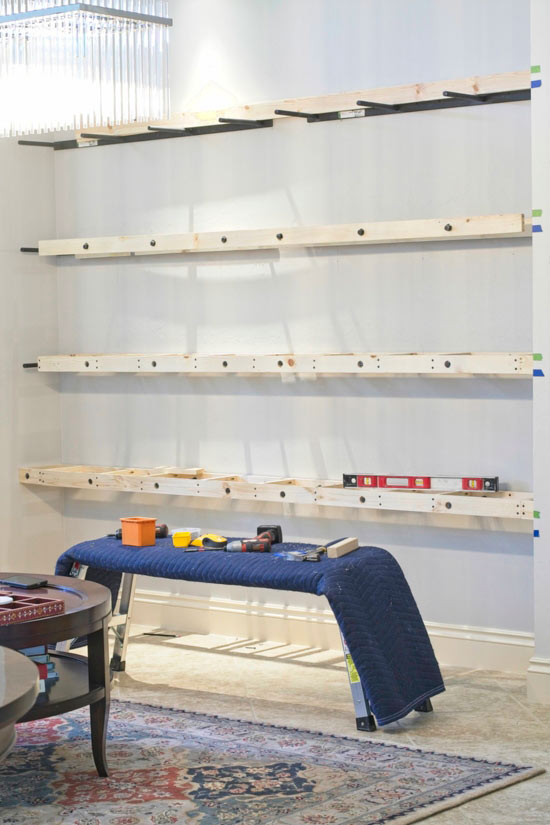
We would need to use super heavy-duty wall brackets to ensure the floating shelves wouldn’t eventually succumb to sagging.
Once the books are displayed on the shelves, the total weight would be too much for a majority of floating shelf brackets to handle.
 This thing was HEA-VY!
I spent quite a bit of time searching for brackets and came across these heavy-duty floating shelf brackets at Shelfology.com. I called the company and THE nicest human ever (Kutler) helped me figure out which of the models was engineered to handle this width and weight (the XD model was the winner).
So we ordered 8 brackets since 2 needed to be installed side-by-side per shelf.
INSTALLING THE LIBRARY SHELVES
Using masking tape, I marked off the tops and bottoms of where each shelf should be installed and let the handyman, Fred, work his construction voodoo magic.
Here’s Fred demonstrating how crazy sturdy these brackets are:


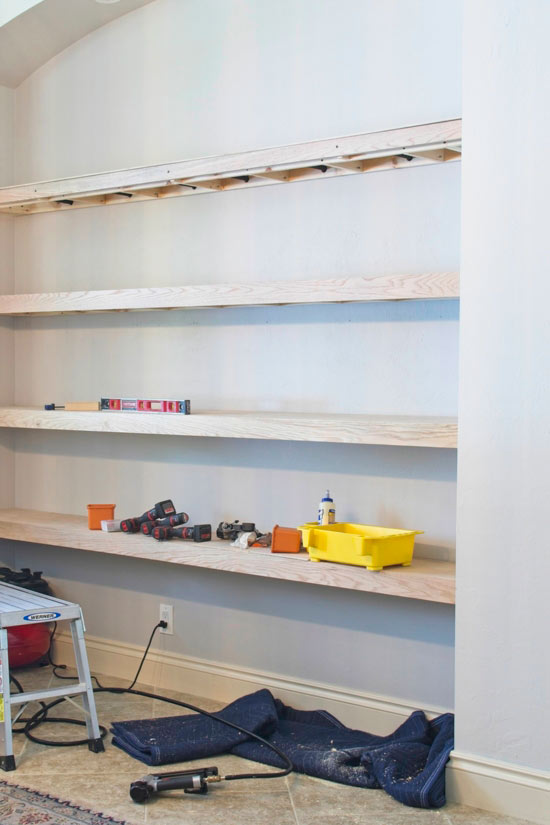
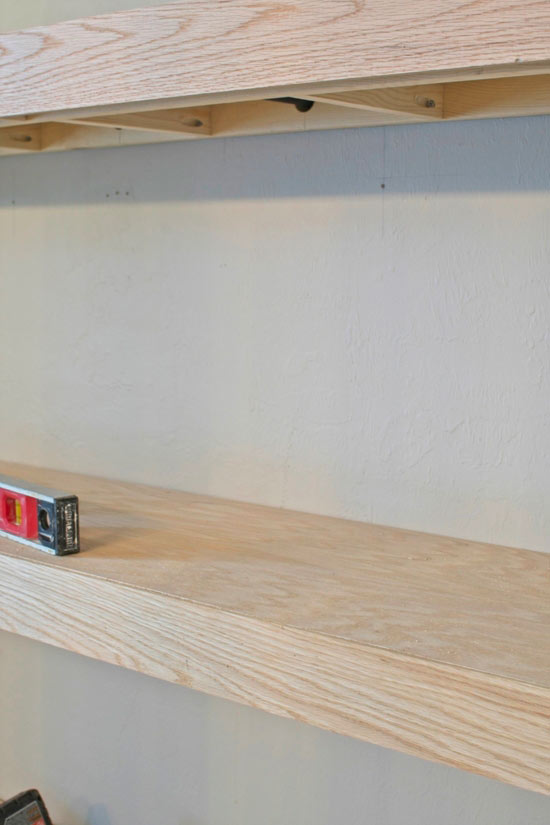
 TA-DA!!!
I couldn’t be happier than little pink piggies in mud about how Ellen’s shelves turned out and Fred did such a beautiful job.
Next step … figuring out the perfect stain color to really make these beauties take center stage!
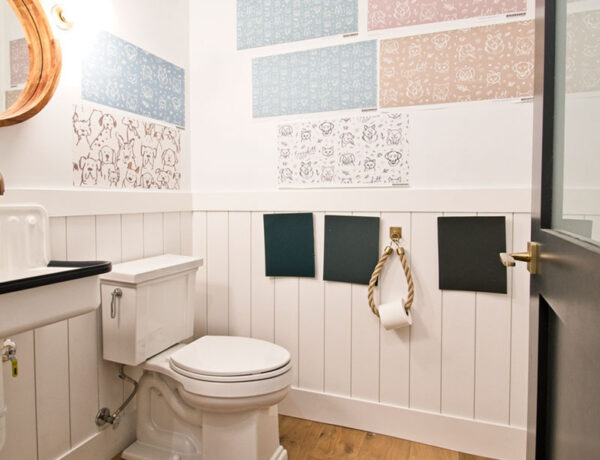
STAINING THE LIBRARY SHELVES
 A few custom Minwax stain color samples I whipped up.
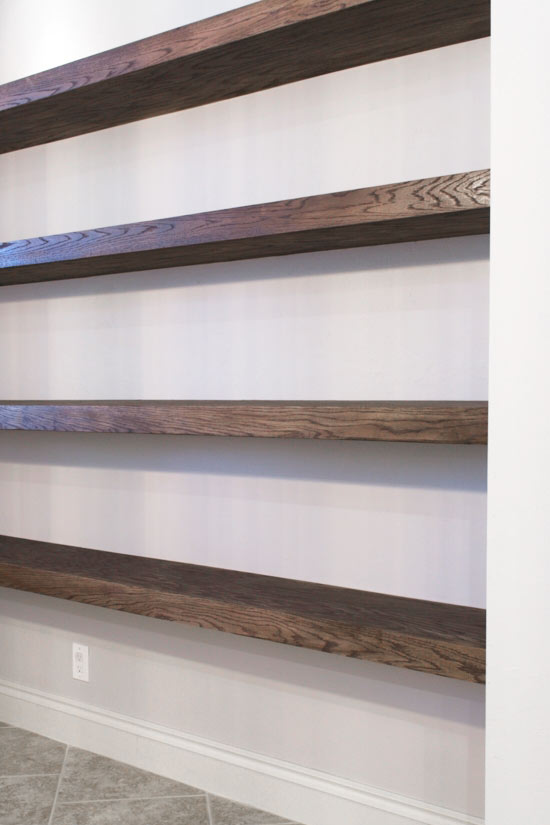
Fred used beautiful red oak to build the shelving and my goal was to make the shelves real showstoppers by using a rich, dramatic stain color.
Fred saved a bunch of red oak scraps for me to work my voodoo magic so I got busy mixing a few wood stain colors to create a custom stain color.
 And just a few more …
I also used Danish Oil (this stuff is pure magic!) on a few of the samples. I used their Natural and Medium Walnut colors on the samples and while gorgeous, they didn’t quite have the moment of “drama” I was seeking.
We ultimately decided on the top right Minwax sample (25% Weathered Oak, 25% Classic Gray, and 50% Espresso) and DANG! was that the right choice to add some drama to these shelves!
 SO in love with this custom stain color!
Ellen was beyond thrilled with her new library shelves and couldn’t wait to start displaying her family’s beloved books and heirloom tchotchkes.
It’s all starting to come together!
RAISING THE SUPER GLAM CHANDELIER

Another important item on Ellen’s Wish List was to keep her gorgeous chandelier in the design and I just love how it adds a touch of glam to this space.
However, it was way too low since it was originally hung over a dining table. So we had electricians come in and raise it several feet so it was “there but not there” and it’s so perfect for this space!
Just look at the pretty patterns it makes on the walls and ceiling! And now, the chandelier can actually be seen from the street through that top window which was an unexpected bonus!
Thanks so much for following along with the series and I hope to have more to share with you in the near future!
Thank you so much for following my blog and for letting me help you create your own lived-in, loved-in spaces!